Use Azure Cloud Shell on your local machine
Running Azure Cloud Shell on your local machine

During a talk when I was talking about how I transitioned from an on prem engineer to a Cloud engineer I was asked if you could run Azure Cloud Shell on your local machine, and the answer is yes. 😊 The way I do this is by using the new Windows Terminal Client.
You first of all need Windows Terminal installed on your machine, I installed my client via Chocolatey.
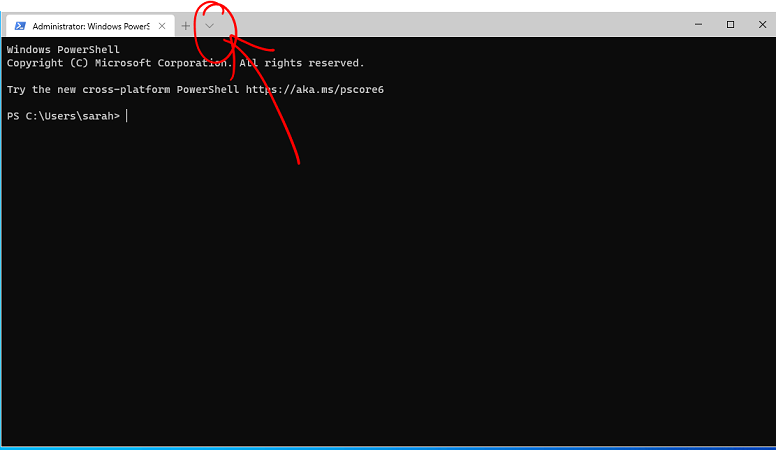
When it opens click on the down arrow on the top taskbar and then select Azure Cloud Shell. This will open a new tab for you.
In order to use the Azure Cloud Shell on your local machine, you need to authenticate against the account you use for your Azure subscription. In order to authenticate within the Windows Terminal Client the new tab that has opened will display a message asking you to go to https://microsoft.com/devicelogin and ask you to input a code. You might be asked for your Azure username and password, or it might already log you in depending on if your credentials are already cached.
Once you've went through the process of authenticating, the Azure Cloud Shell will ask you which Azure tenant you want to run commands against. If this is your first time using Azure Cloud Shell on your machine it will ask if you want to keep these settings for future logins, obviously this is your personal choice. 😉
The next thing that will happen is that the Windows Terminal will request a terminal/connection to your Azure subscription. After a few sections you should see the familiar "Welcome to Azure Cloud Shell" welcome appear and you will have a prompt that will allow you to run Azure Cloud Shell commands against your Azure subscription from your local machine.
