How to set up SFTP in Azure
Learn how to securely transfer files using Azure's native SFTP support. This guide covers what SFTP is, Azure pricing, and how to configure it step by step.

Sometimes there is a need to transfer files between two different parties, one way to do that is using SFTP (Secure Transfer Protocol). There is a native offering within Azure that can be set up to enable you to use SFTP in Azure and transfer files.
In this guide, I’ll walk you through what SFTP is, how Azure supports it, how much it costs, and the step by step process to get it up and running.
What is SFTP?
SFTP stands for Secure File Transfer Protocol. It’s a networking protocol that provides file access, transfer and management capabilities over a secure SSH connection. It’s widely used to transfer files between systems in a secure way, as it protects your data in transit using encryption.
Unlike traditional File Transfer Protocol (FTP), SFTP only uses one port, port 22. Which makes it easy to secure and manage in modern firewall environments.
What is SFTP on Azure
Azure Blob Storage (Premium Block Blob Storage) has SFTP support built in. This is a lightweight approach which avoids you having to manage infrastructure, patching and general administration. It is a secure and scalable option that can also integrate with your Azure workloads if needed.
Azure SFTP Pricing
With Azure Blob storage there are costs involved, for the amount of storage you are using, write operations, list, create and read operations. Then there is the SFTP cost, when the SFTP feature is enabled, it costs $0.30 per hour to run.
Create and set up SFTP in Azure
Head over to https://portal.azure.com
Within the search bar, search for Storage Accounts
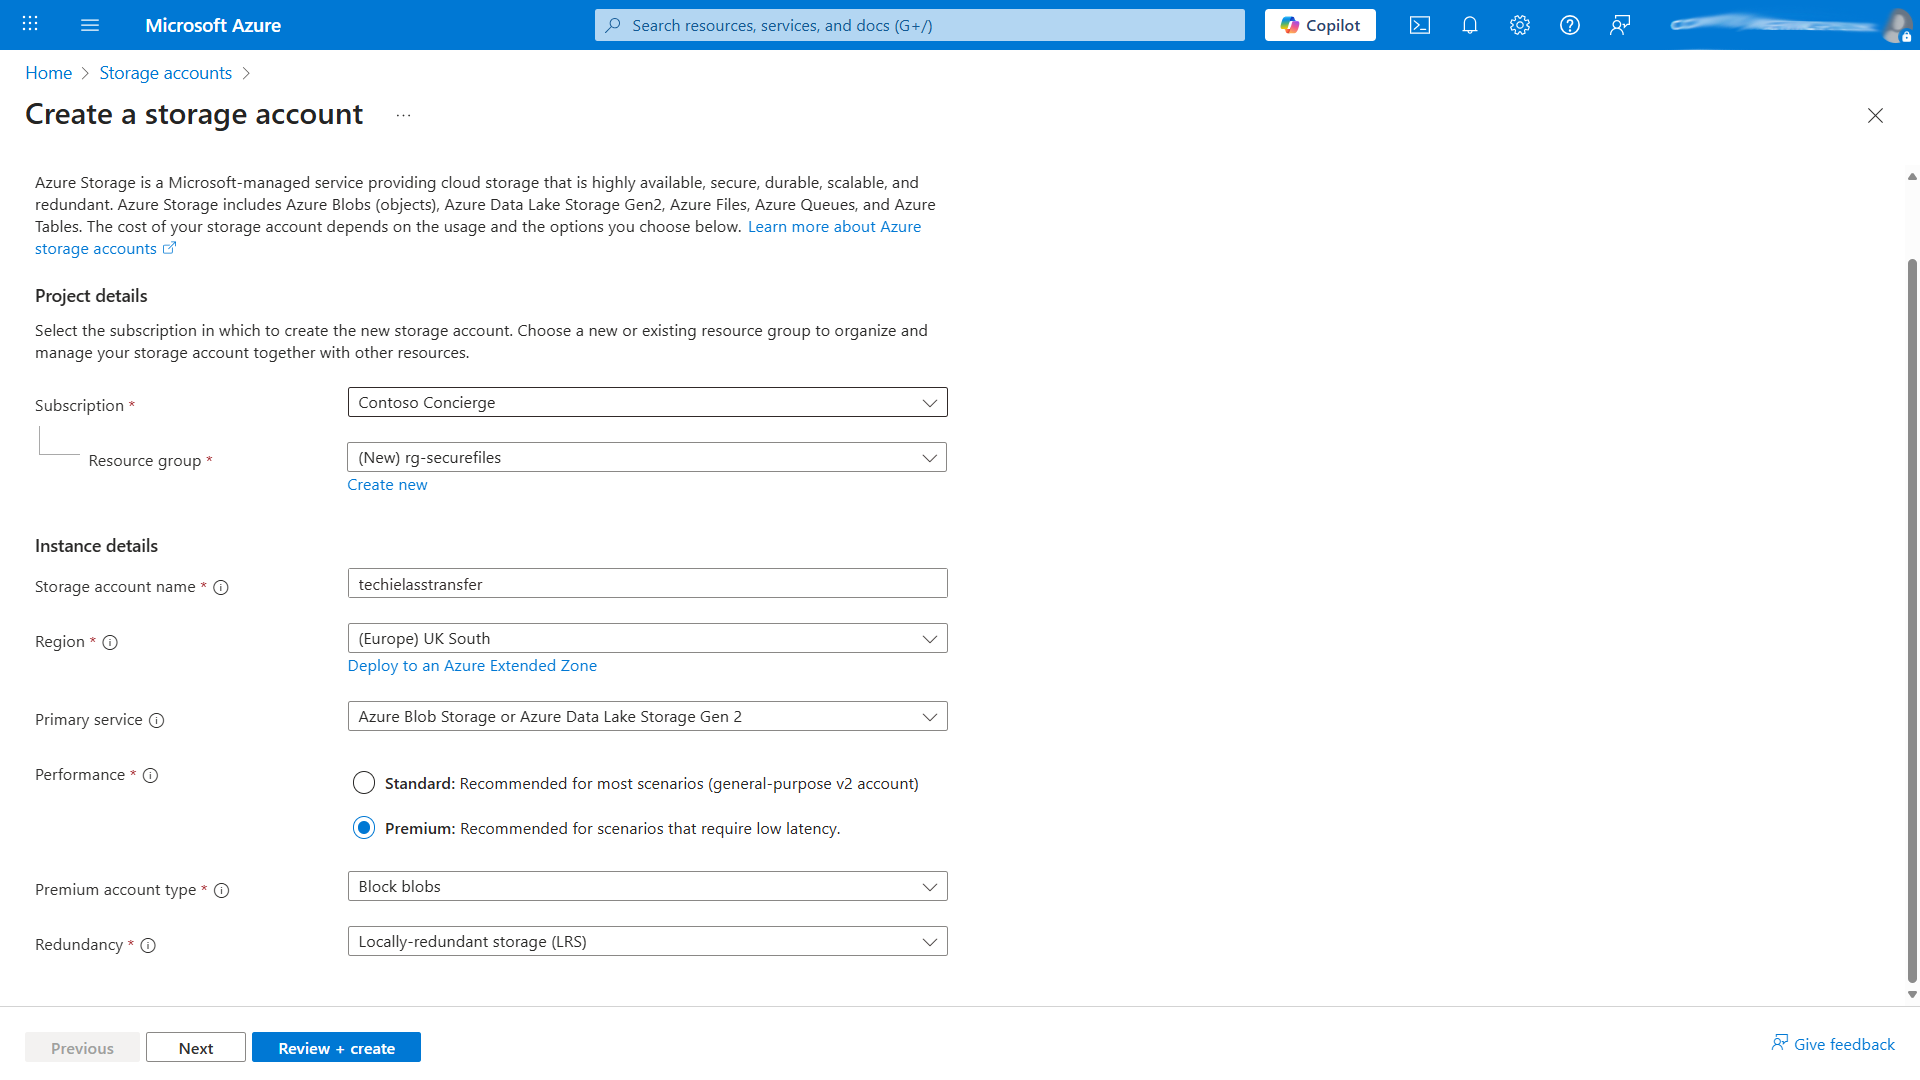
Click on Create
Select the relevant subscription and resource group, or create a new one to house your storage account.
Next, give your storage account a name and select the region you want it to be stored in.
Next, select the primary service as Azure Blob Storage or Azure Data Lake Storage Gen 2
And select the Premium tier for performance.
For the Premium account type, select Block blob.
For the redundancy, you can select what is appropriate for your needs and requirements.
We can move on to the “Advanced” configuration screen within the wizard. Any existing default settings can be left as is, assuming they met your requirements, the two boxes we are concerned about are the Enable hierarchical namespace and Enable SFTP boxes. Ensure they are ticked.

The rest of the default settings are fine for testing purposes, so you can skip through to the Review + Create section. But obviously for production environments please do look at the other sections and ensure they are answered and configured appropriately for your environment and requirements.
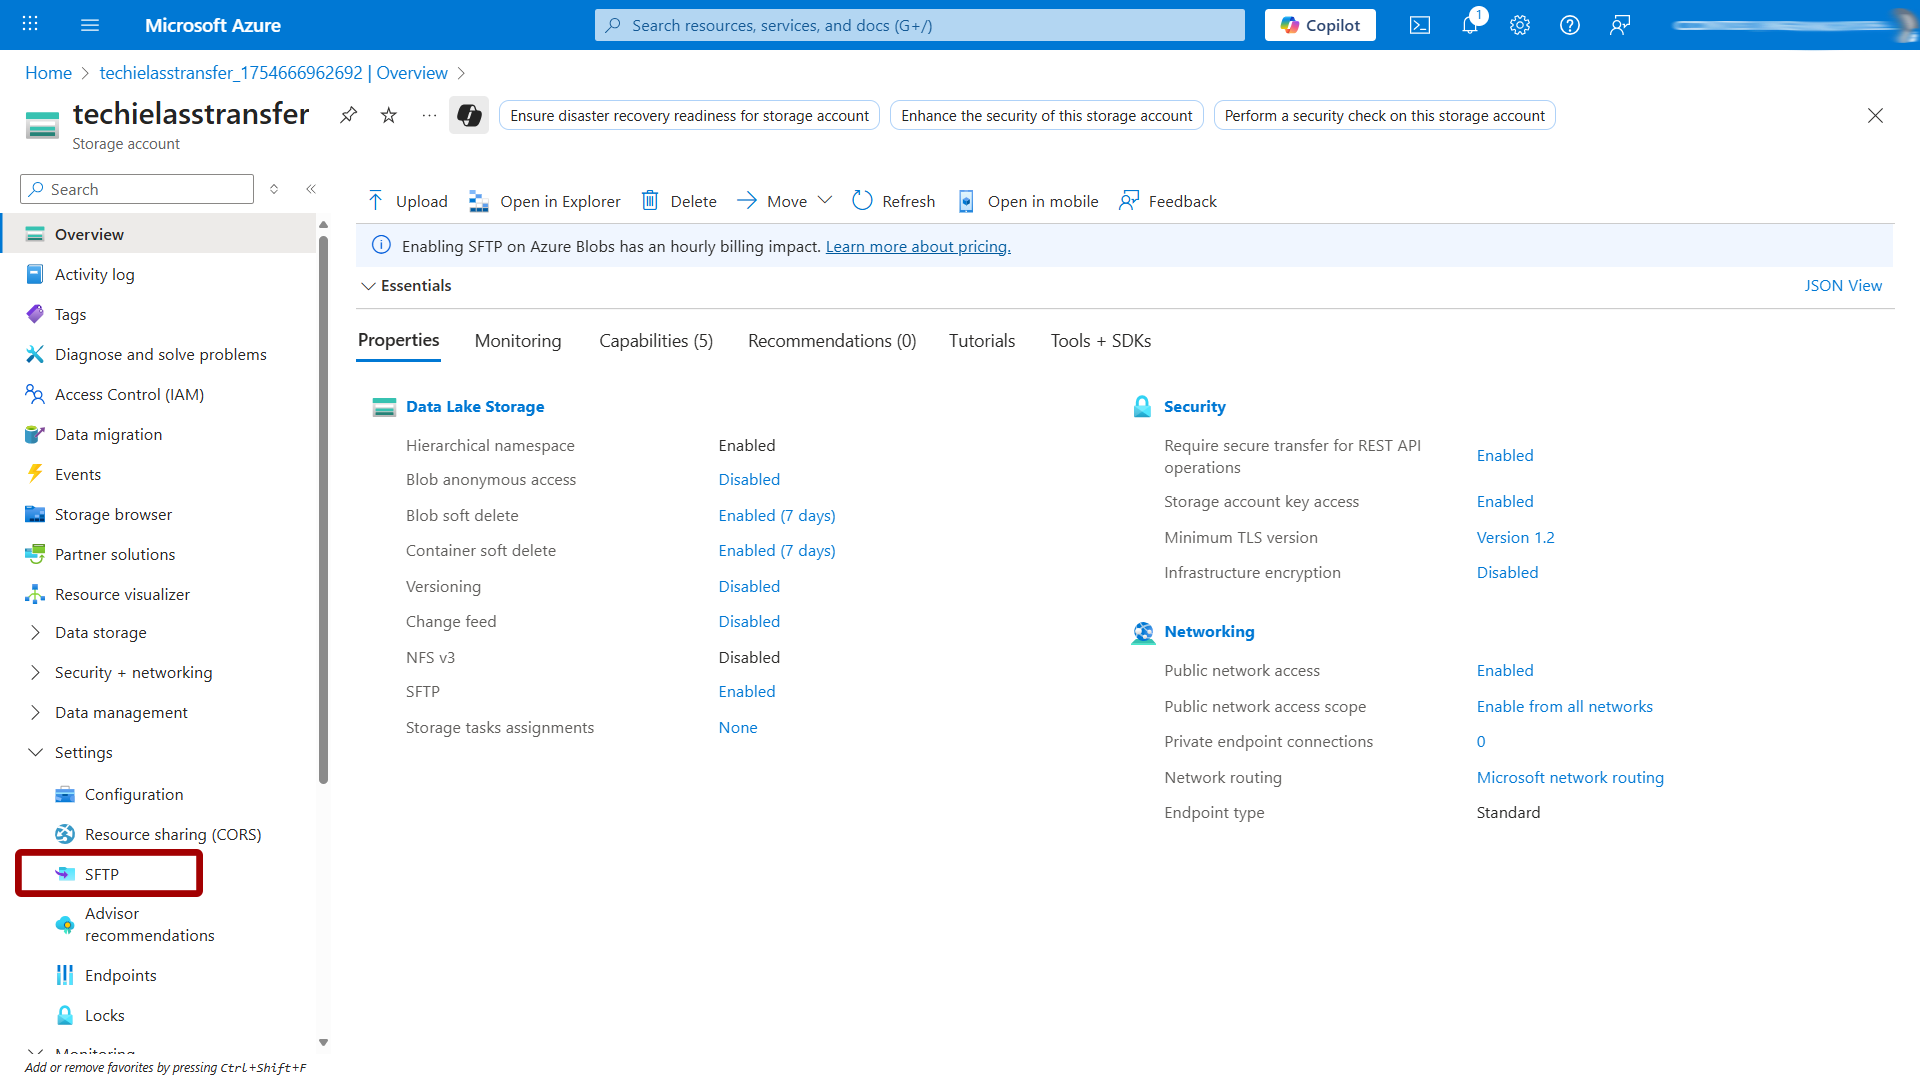
Once the storage account has been created we can start to interact with it and get the SFTP configured.
Because we enabled the SFTP setting during setup, we don’t have to enable it again, however we do need to set up folders (containers) for information to be stored in and also we need to create users to give them permissions to the files and folders.
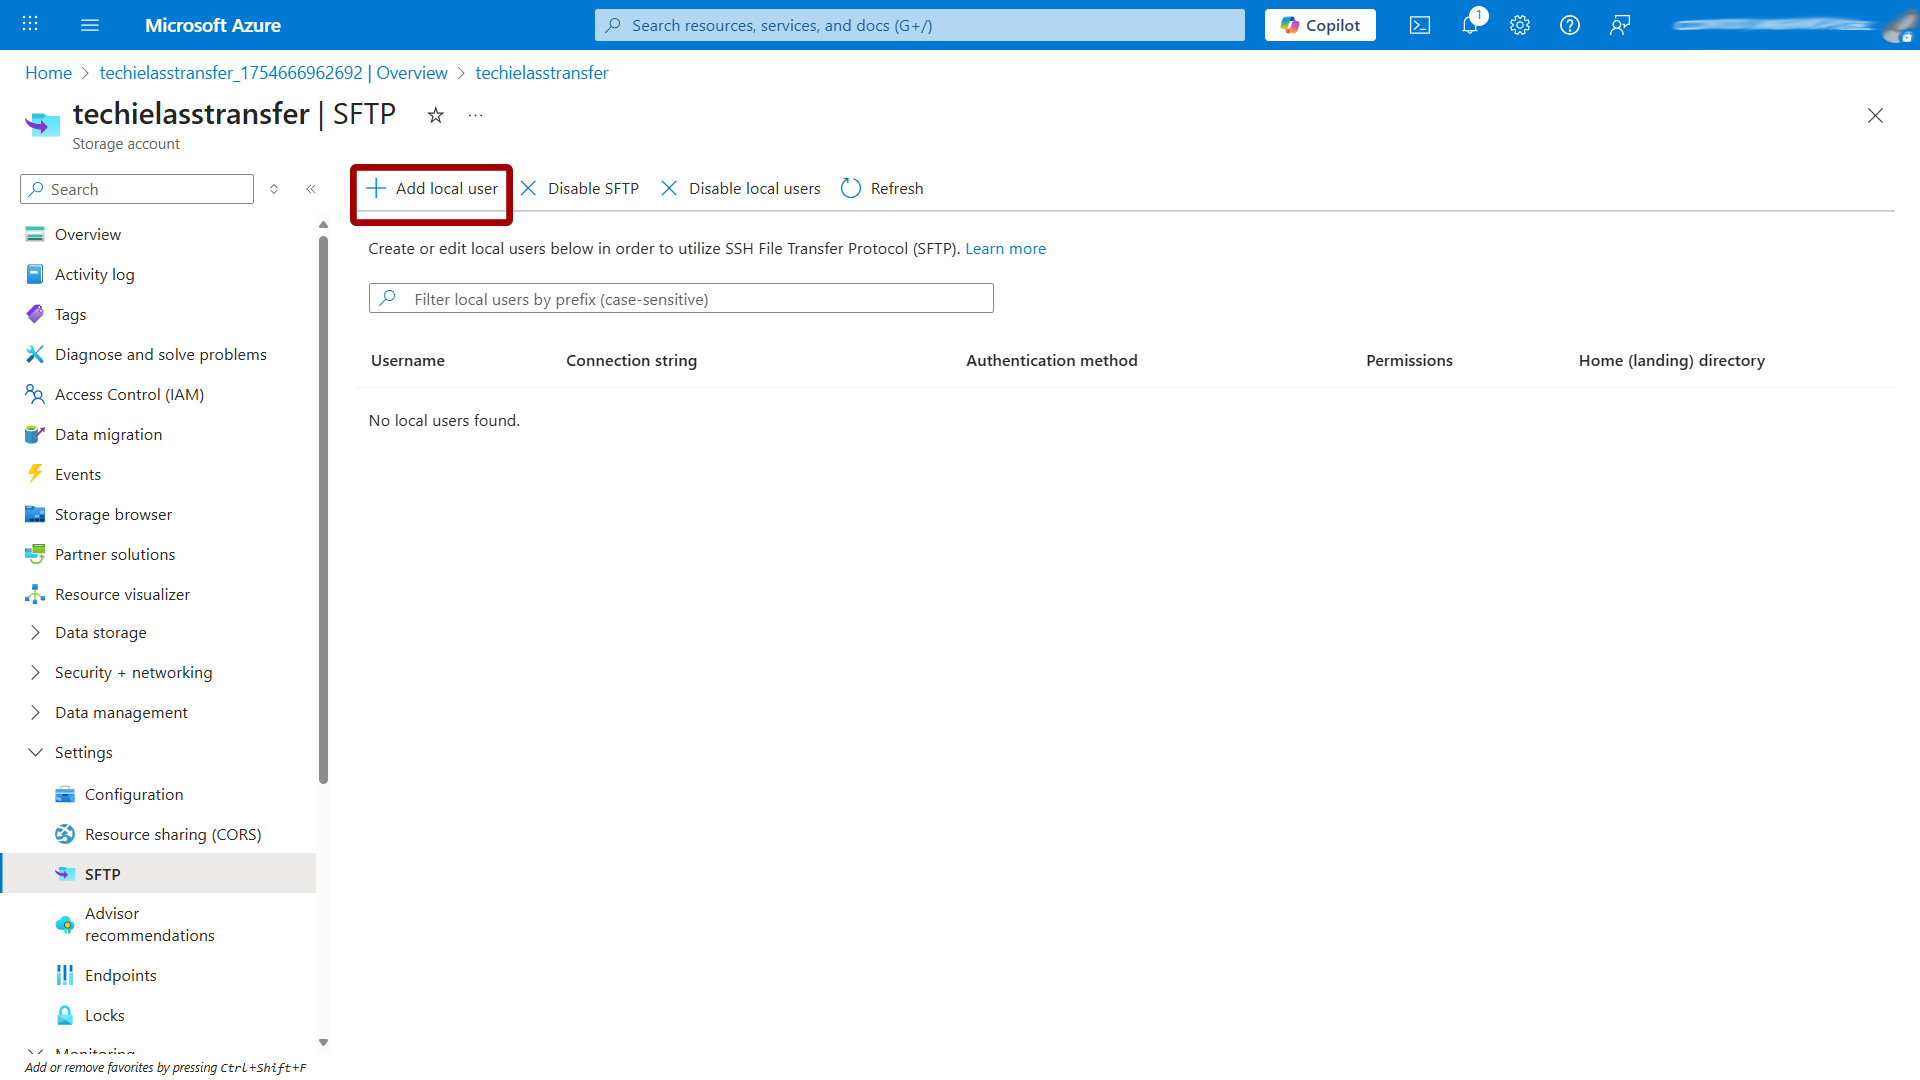
Open up the storage account you’ve just created and select SFTP on the left hand side.
Click on Add Local User, this will open up a wizard asking you to help fill in some information about this new user.
First off is a username, put in an appropriate user name for your user.
Then select which methods of authentication you'd like to use with this local user. You can associate a password and an SSH key or you can select to use just one.
If you select SSH Password, then your password appears when you complete all of the steps in the Add local user configuration pane. SSH passwords are generated by Azure and are at least 32 characters in length.
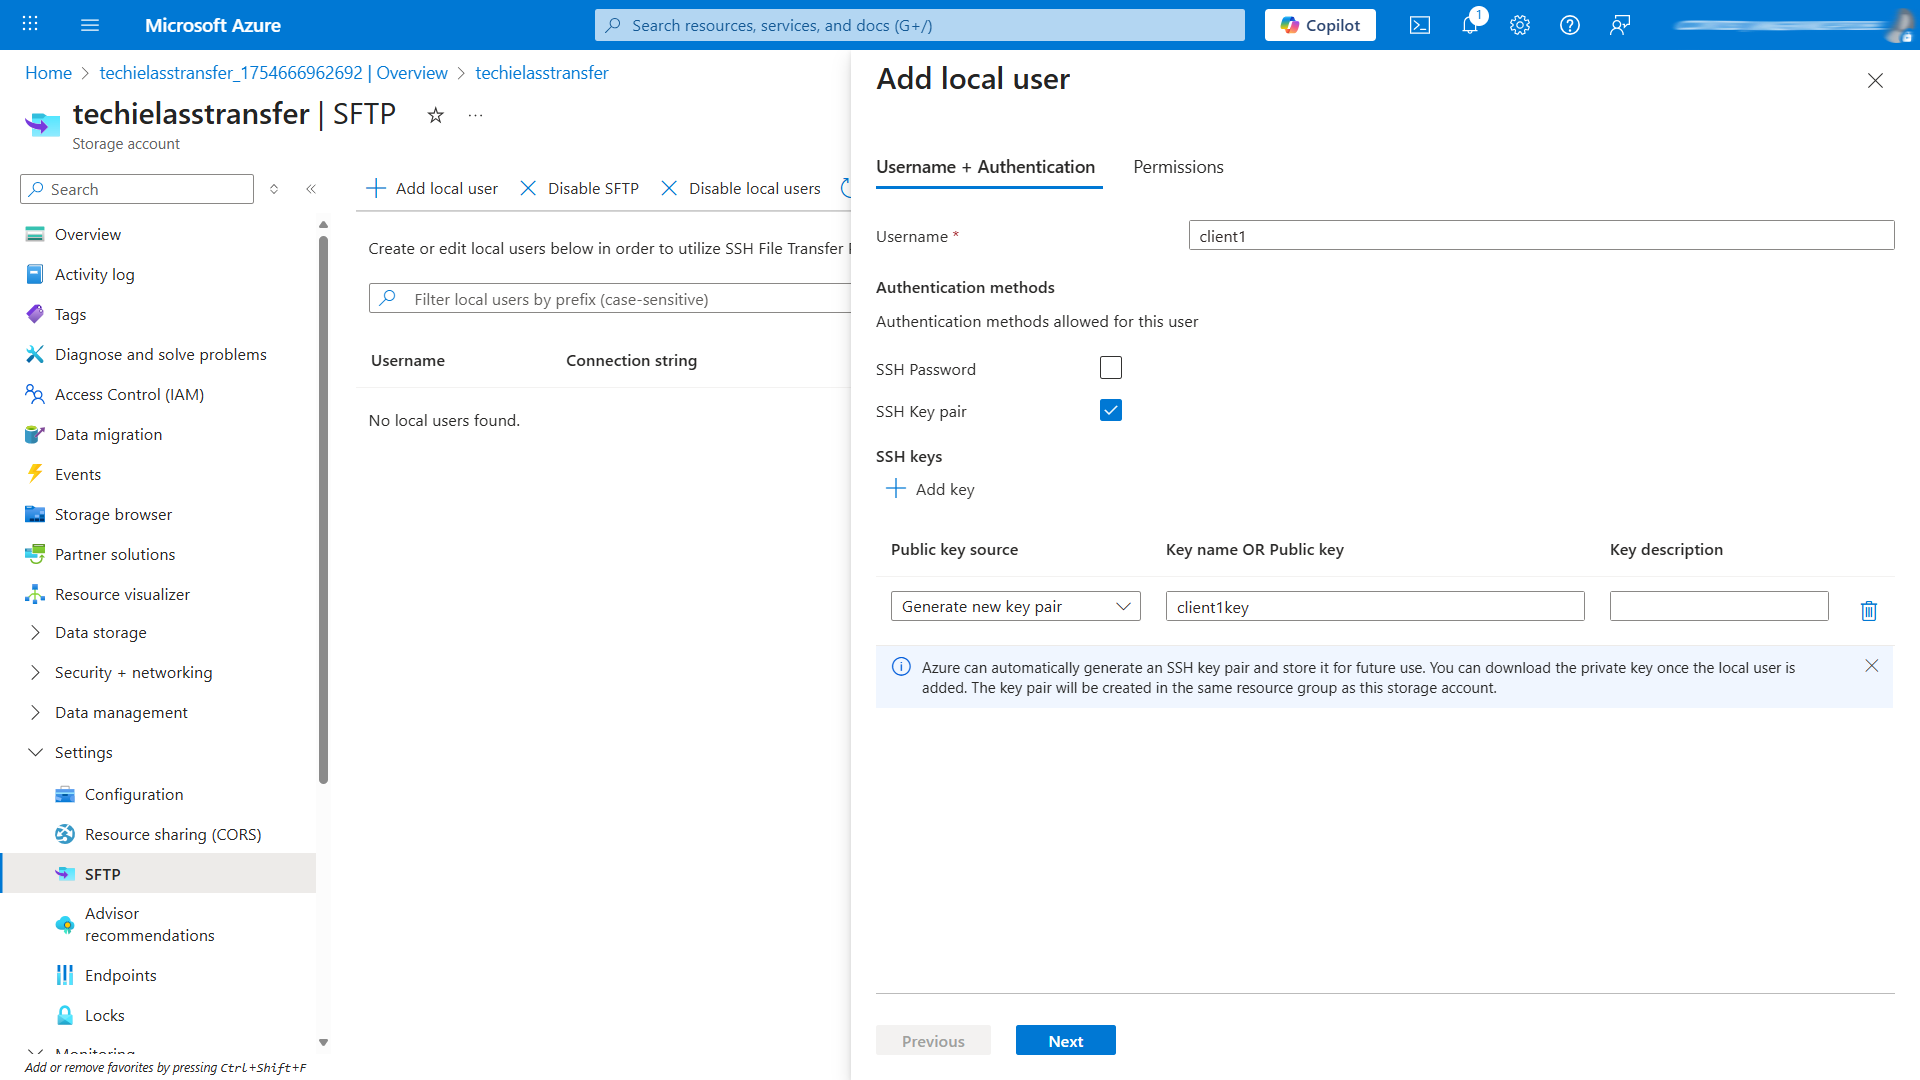
Once you’ve configured the username and authentication method, select Next to move to the next section.
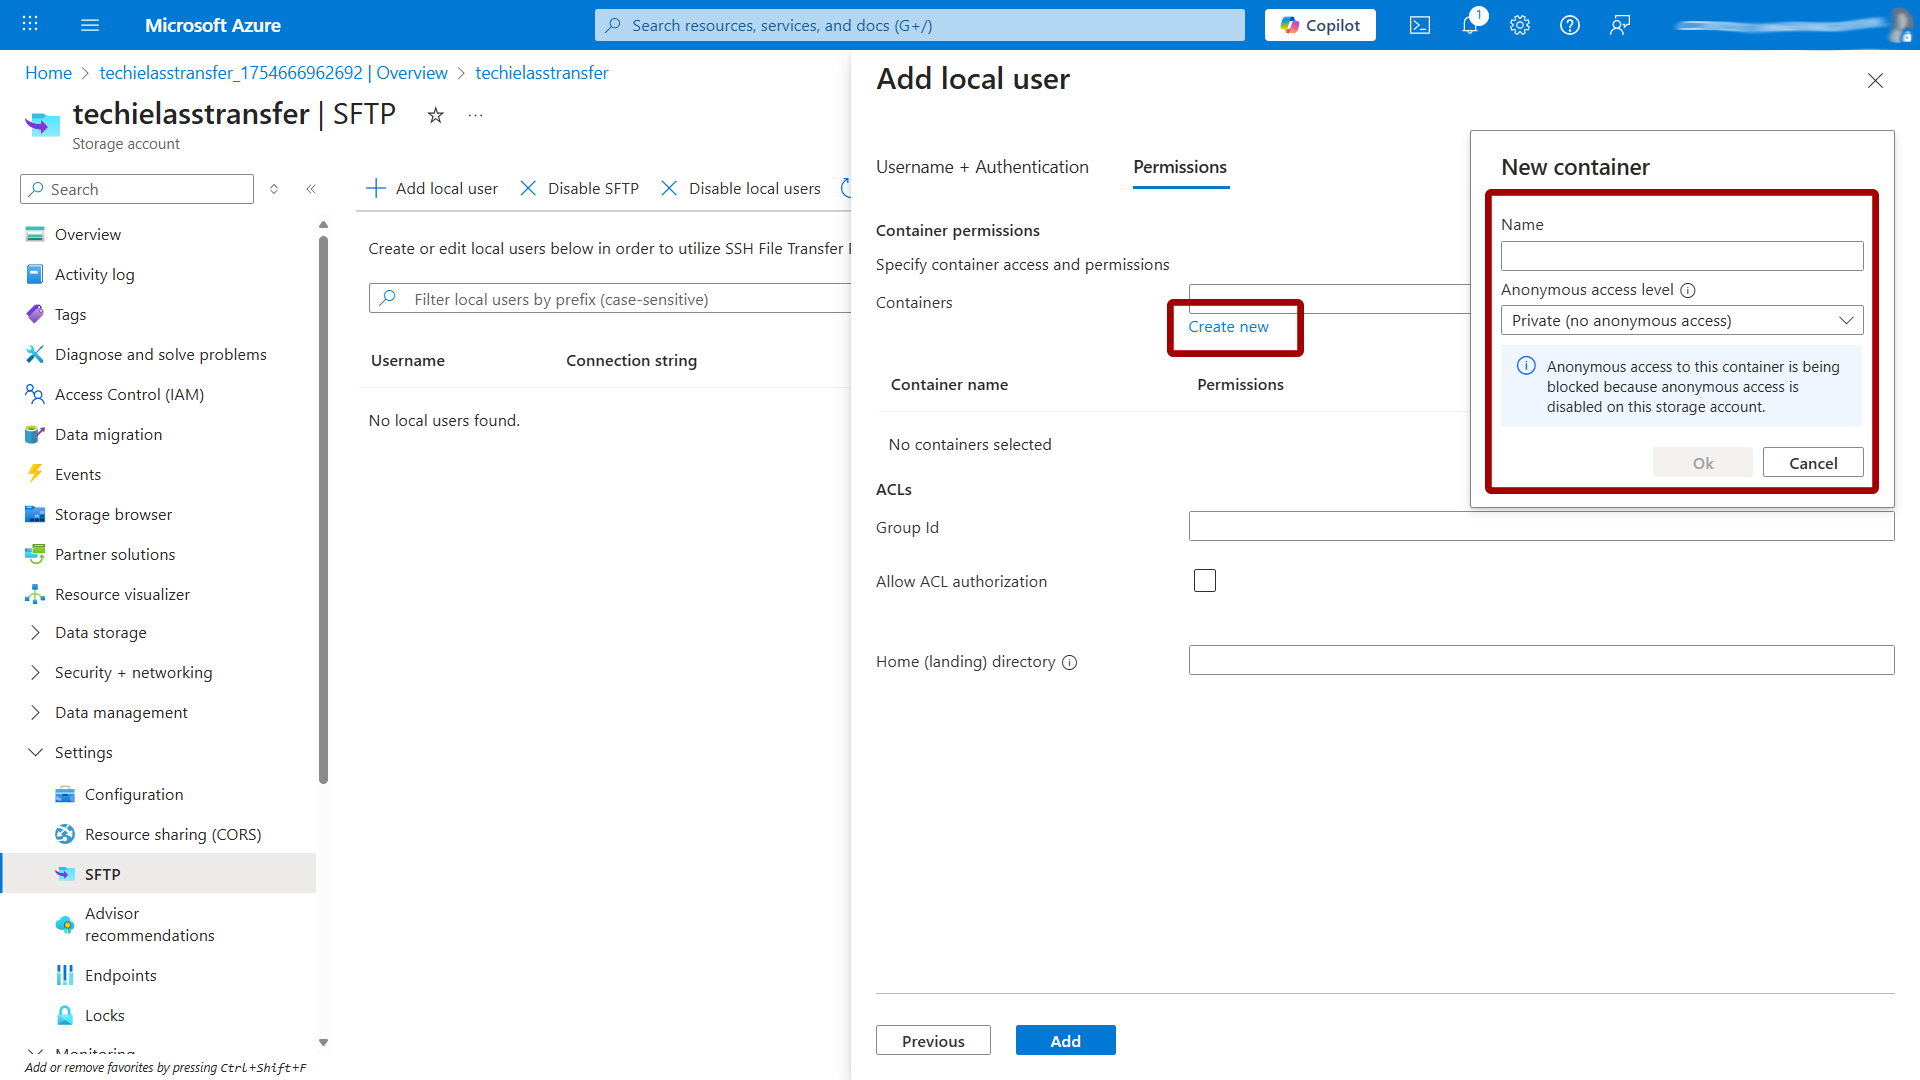
The next section is all about permissions and where the user has access to.
Each user needs to be given access to a folder or container as it’s referred to in Azure. We haven’t created any yet, but we have the ability to do so now within the “Local User” creation wizard.
Click on Create New and give your container a name and click on Ok.
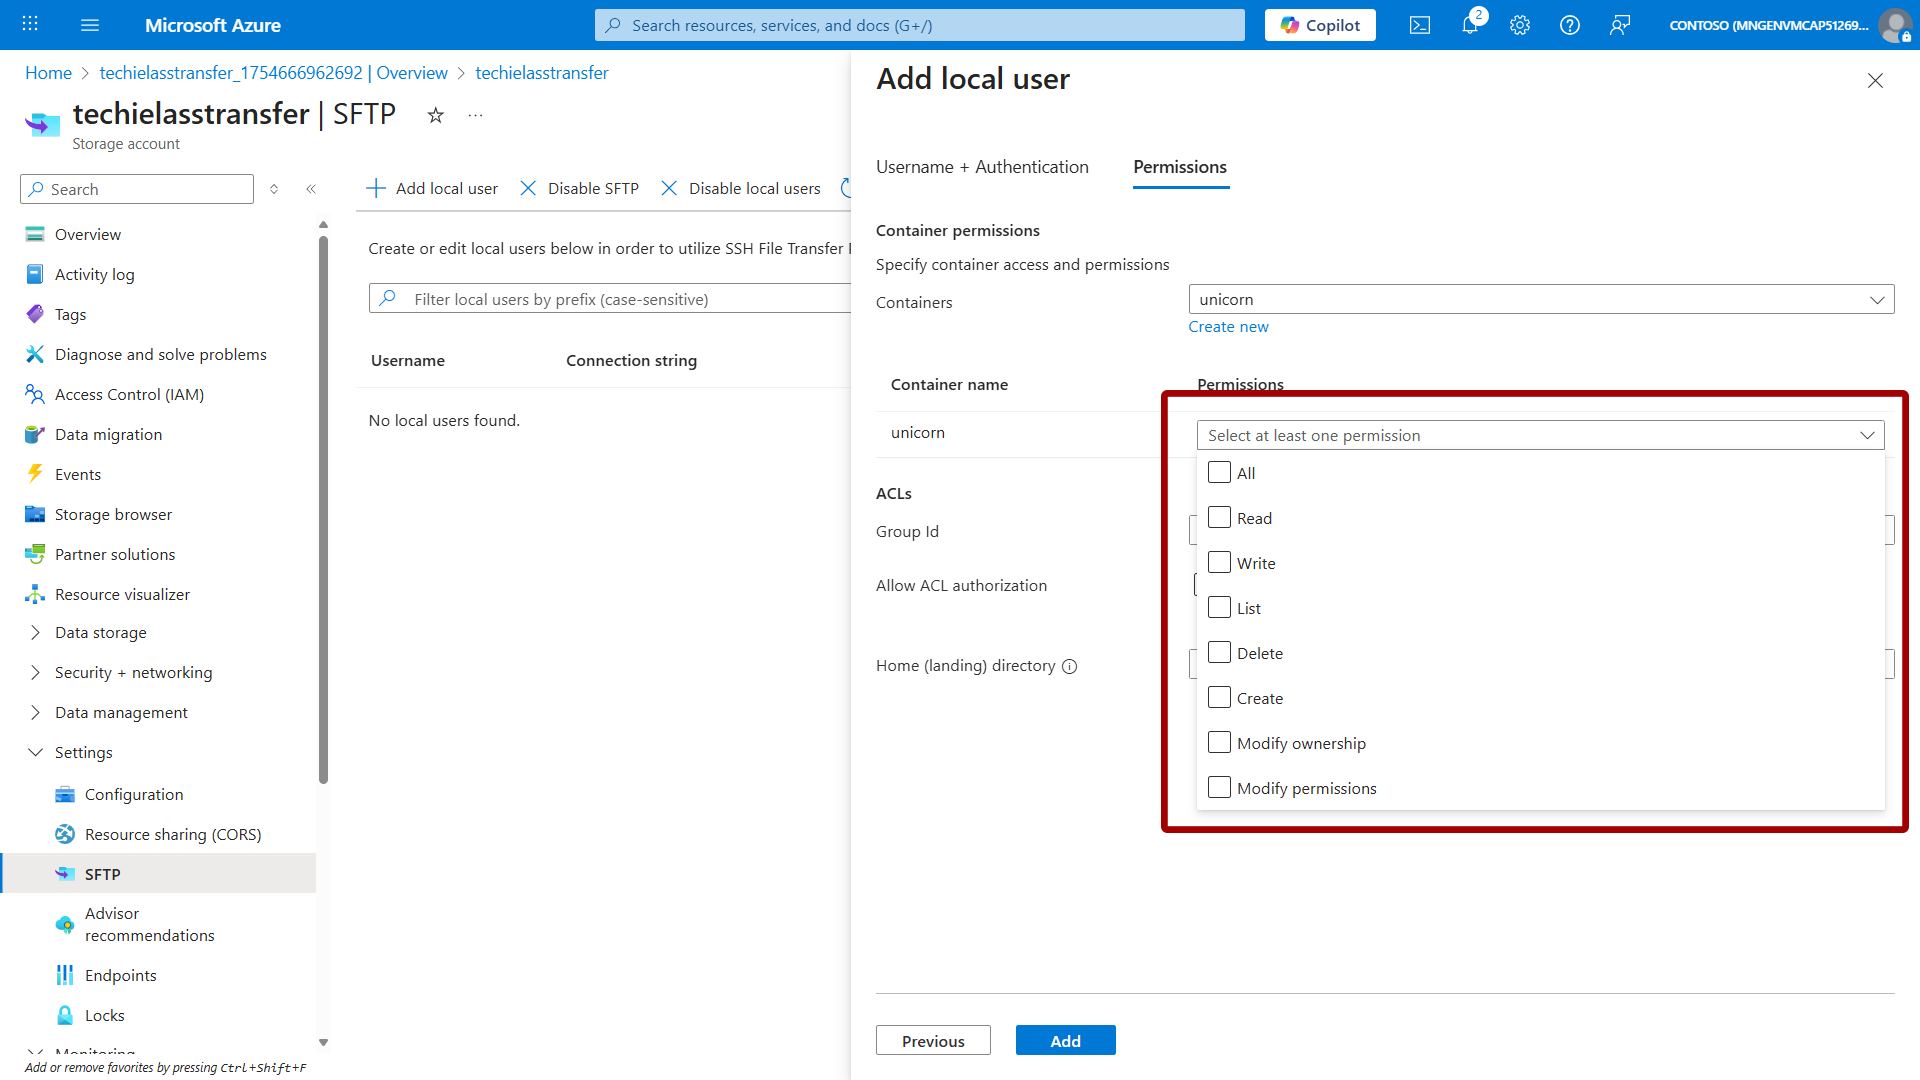
Now we need to give that user permissions to the container. Think carefully about what permissions the person should have, as you can grant them quite destructive permissions and not everyone needs those.
Set the Home directory to / to place the user in the root. You can adjust this later as your structure evolves.
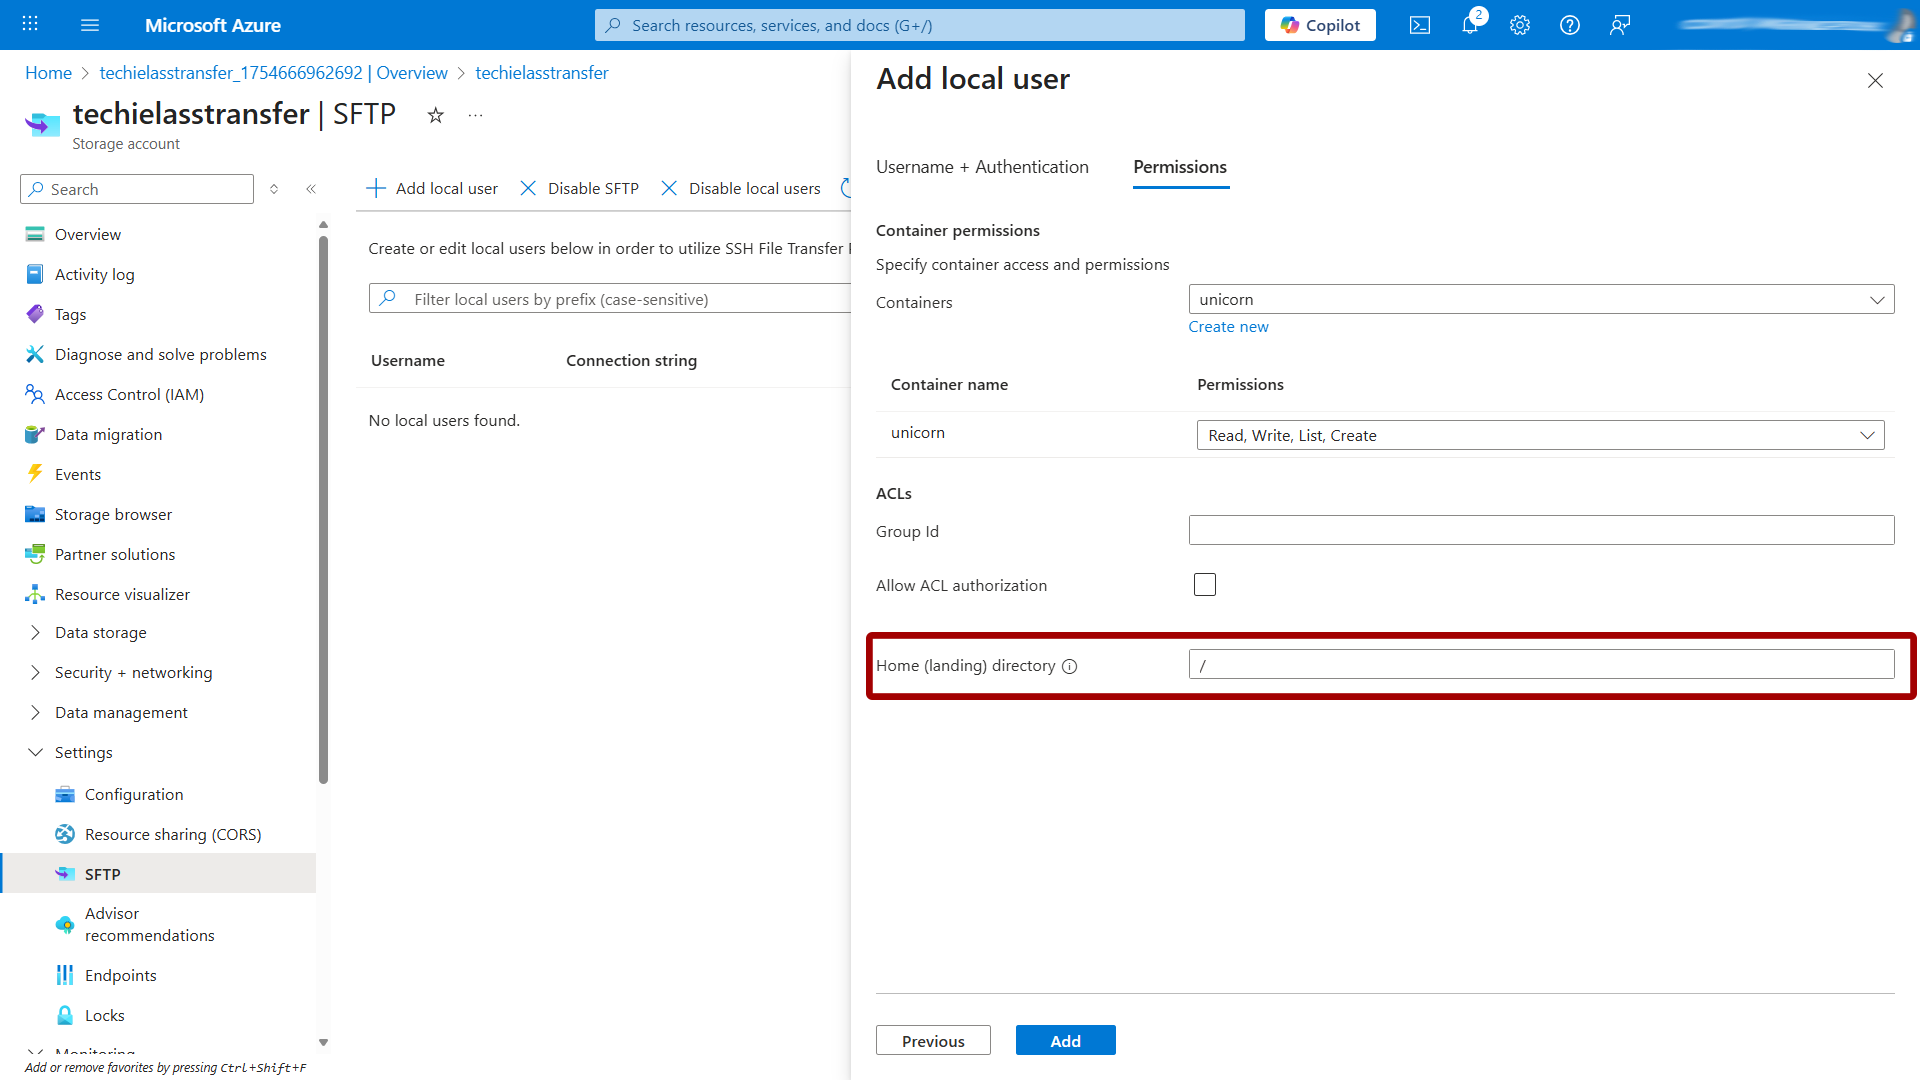
Now click on Add to create the local user.
Access your SFTP connection
There are many ways to access your SFTP setup, through FTP clients, through command lines or even through web browsers. I’m going to walk you through how to connect to your Azure SFTP setup using the client FileZilla.
To be able to log into the SFTP configuration you need three pieces of information, host, username and password or key pair.
The host name is name up of the <storage_account_name>.blob.core.windows.net
The username is made up of the <storage_account_name>.<container>.<local_username>
Open up Filezilla
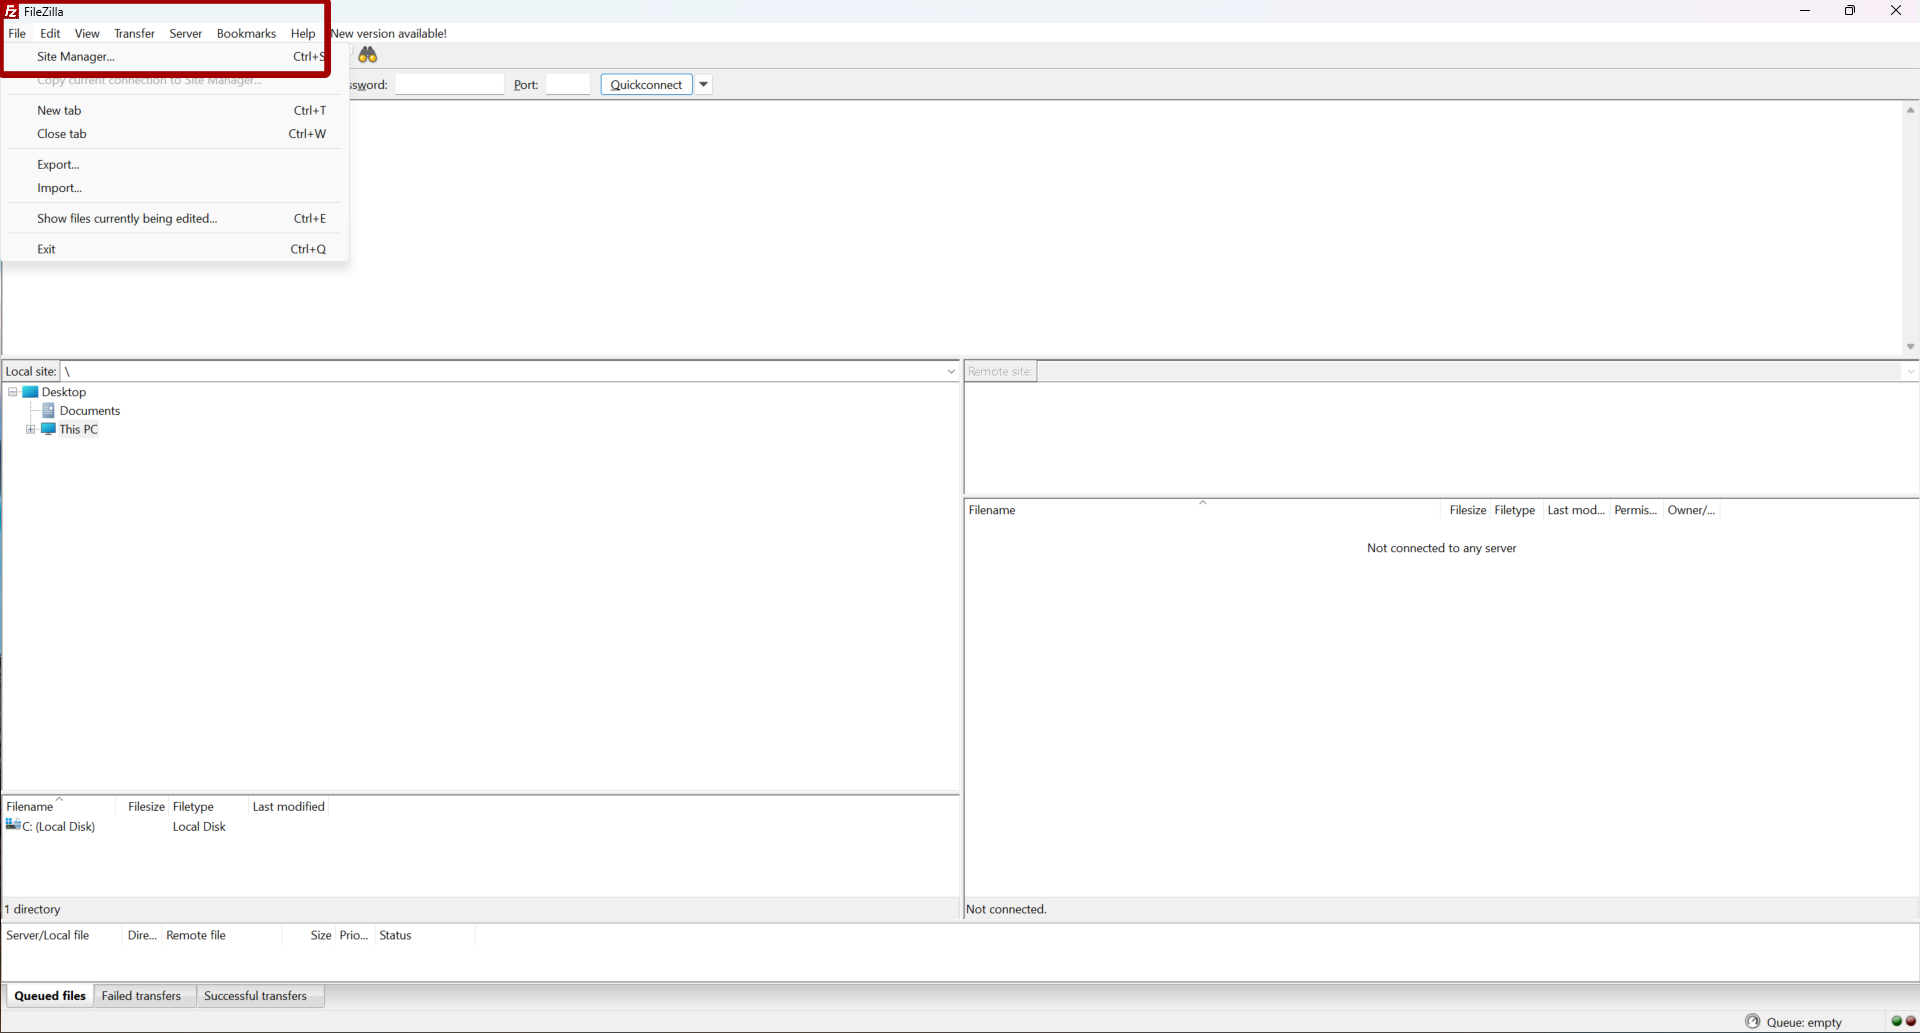
Click on New > Site Manager
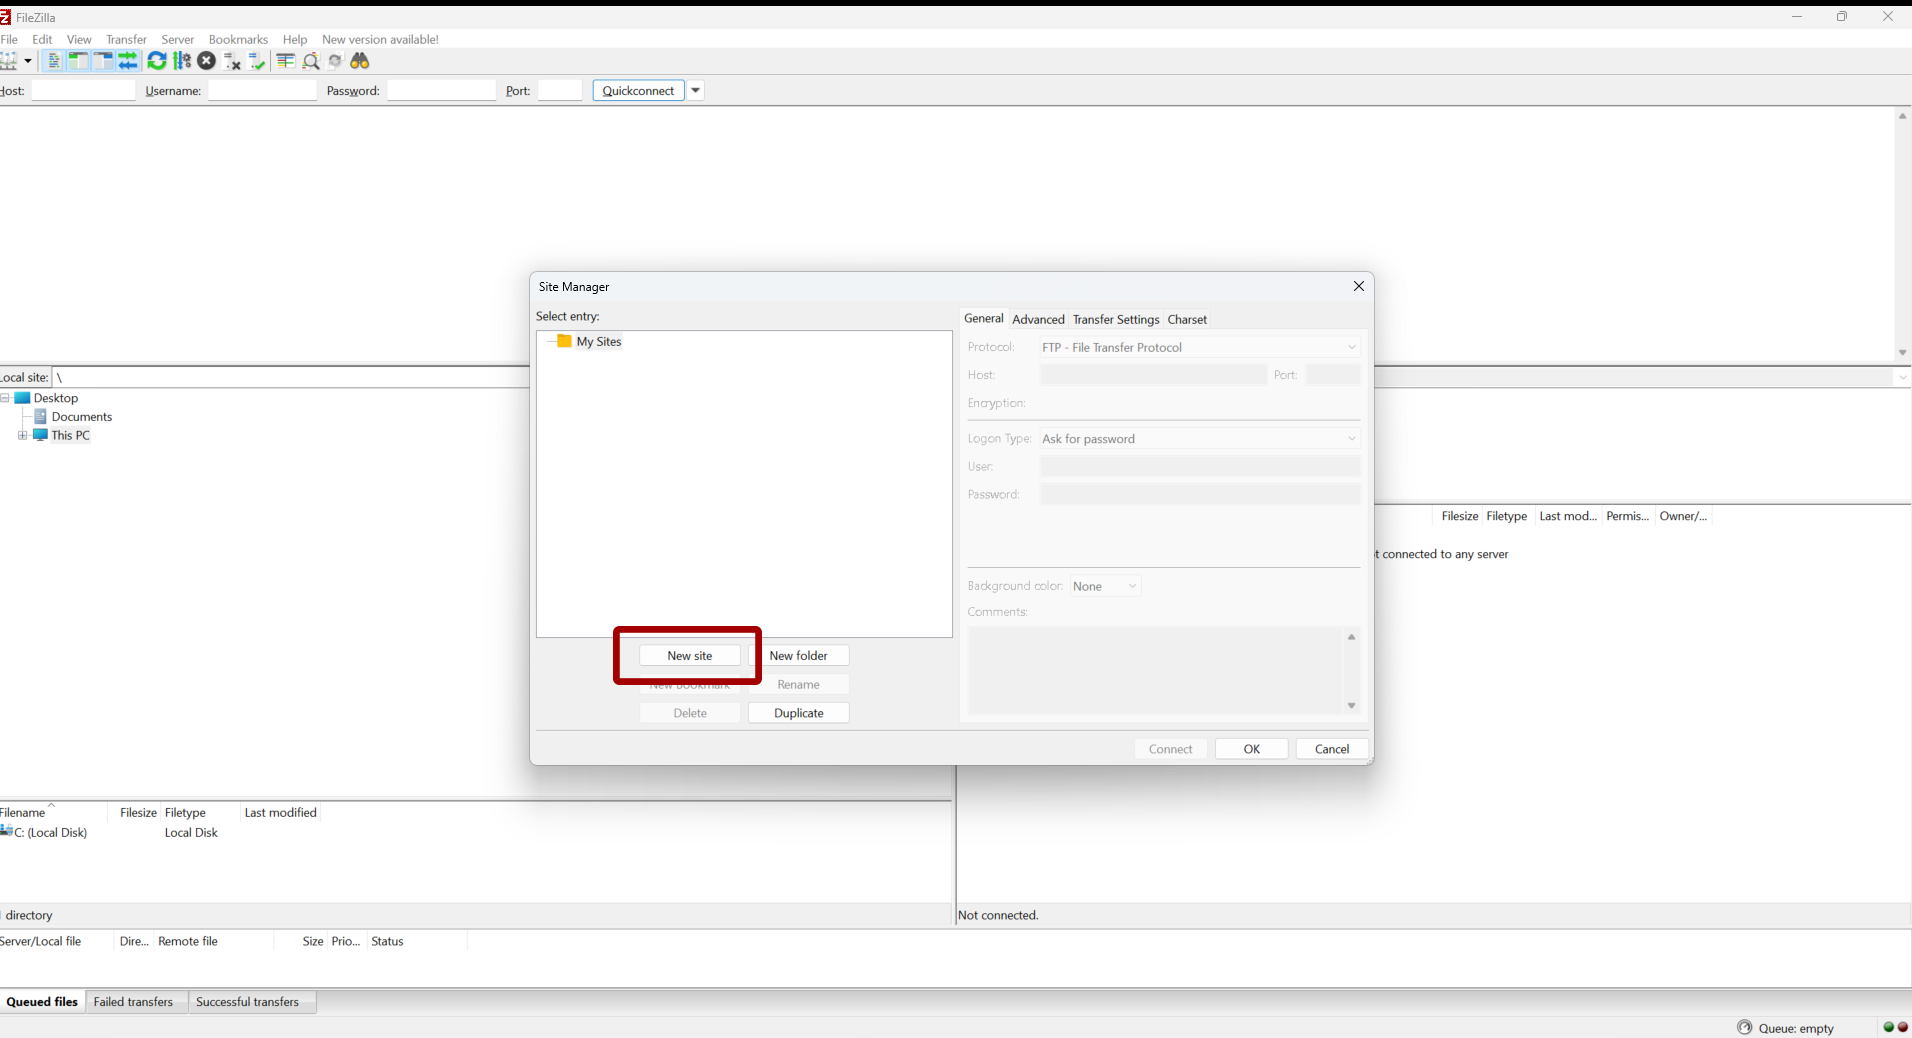
Then select New site
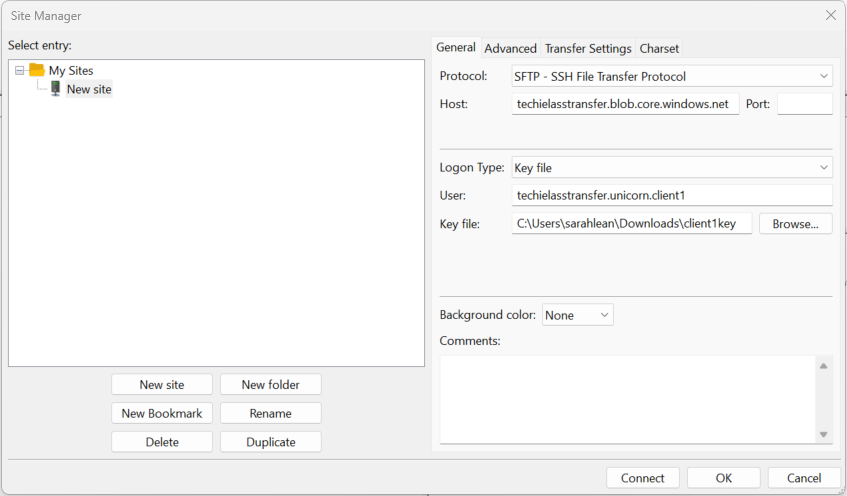
Within the Protocol box, select SFTP
Within host enter <storage_account_name>.blob.core.windows.net
Within the Login Type box select the relevant option for your setup, either password or key file
If you choose a key pair, you’ll be given the option to find the key pair and add it to the configuration.
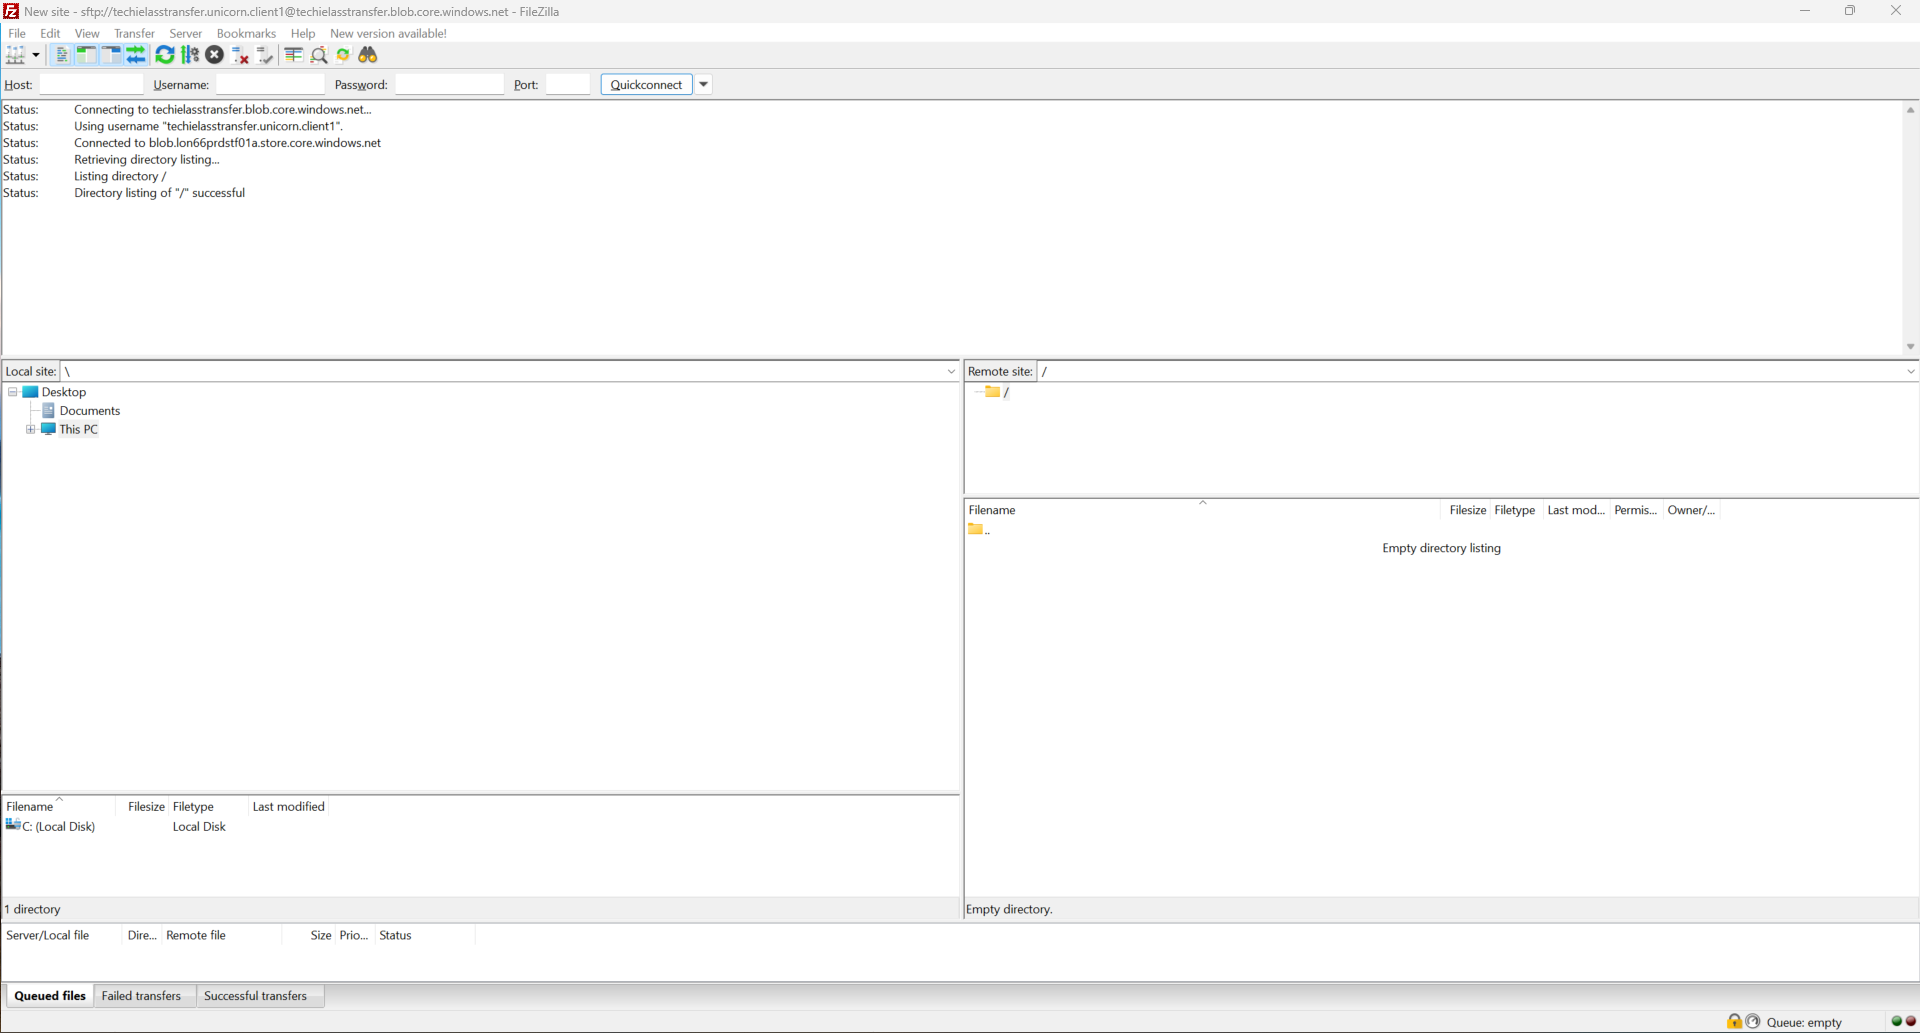
Once the information is completed click on Connect
FileZilla will now be connected to your SFTP and you can download or upload files to it as you require.
Disable Azure SFTP
As mentioned in the pricing section SFTP incurs a charge per hour, so it's not something you necessarily want to run continuously. You can enable it or disable it manually via the Azure Portal, or through PowerShell, CLI, etc. So it can be disabled manually or automatically.
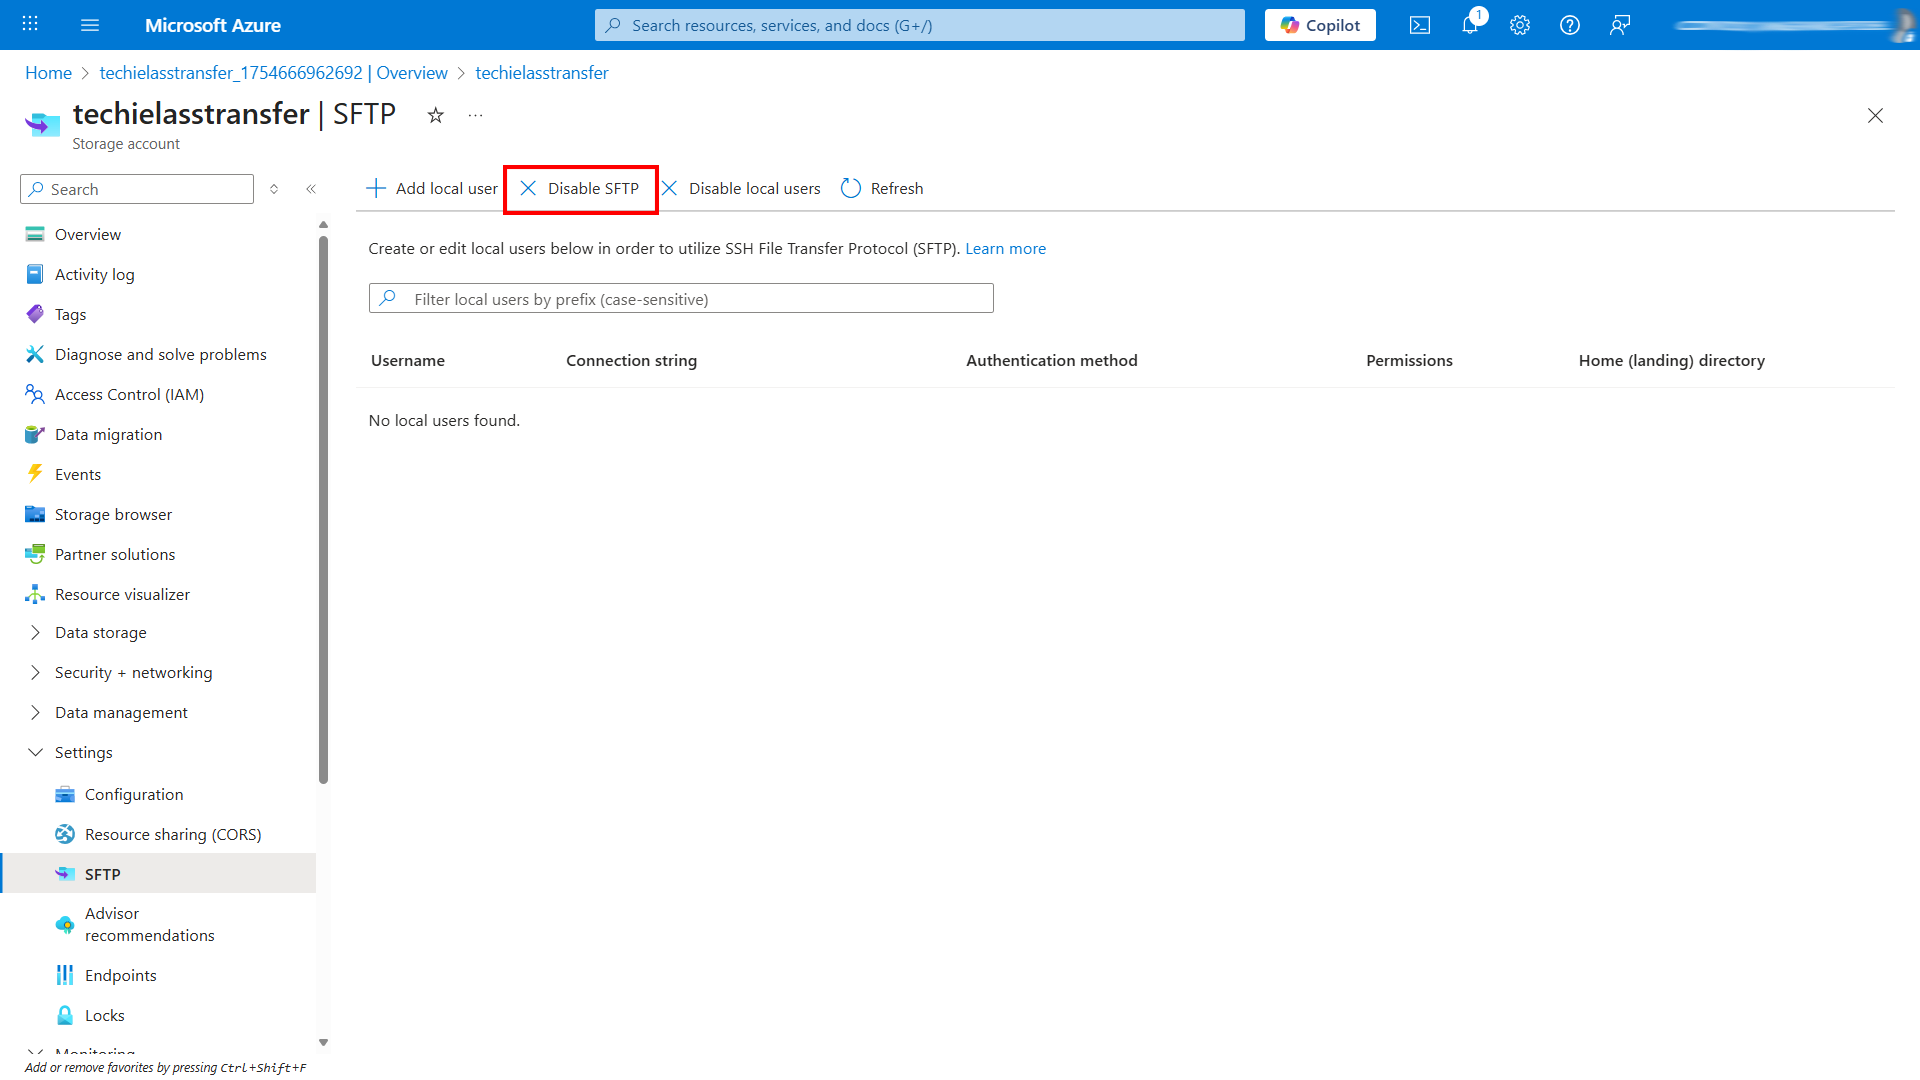
Within the SFTP blade, you have a button called Disable SFTP
Alternatively you can use the PowerShell command
# Define the resource group and storage account name
$rg = 'rg-securefiles'  # Replace with your resource group name
$storageAccountName = 'techielasstransfer'  # Your storage account name

# Disable SFTP on the specified storage account
Set-AzStorageAccount -ResourceGroupName $rg -Name $storageAccountName -EnableSftp $false
Conclusion
Whether you are onboarding third parties, automating file drops or just need a secure way to move data Azure SFTP offers a powerful and manageable solution. This solution is native to Azure, allows for granular permissions. flexible authentication options and allows you to enable or disable it at will.