Cost Optimization in Azure: Using the FinOps Toolkit to Save Money
Discover how the Azure FinOps Toolkit can help you monitor costs, identify idle resources, and optimize your cloud spending with alerts and workbooks.

Cost optimisation. It’s important in all walks of life, whether you are looking after your household bills or your cloud environment.
When we look at Azure there are tools and mechanisms that can help you monitor your costs, from Azure Advisor to Cost Alerts.
Within this blog post we’ll look at some of the resources with the Azure FinOps toolkit that can be deployed to help keep a monitor of your costs.
What Is the Azure FinOps Toolkit for cost optimization in Azure?
The Azure FinOps toolkit is a set of resources that can help you manage your Azure Costs and FinOps journey. There are alerts, workbooks and PowerBI reports that can be deployed.
It is an open-source project that is maintained and owned by Microsoft but the community over the years has also contributed to it.
There are two resources within the toolkit that I would recommend you look at as the very minimum you can do for cost optimisation.
How to use the FinOps Toolkit Alerts for Azure Cost Savings
Within the toolkit is something called “FinOps alerts”. This resource is a Logic App than can be scheduled to run regularly and check if you have any of the following that might be costing you money unnecessarily:
- Idle App Gateways
- Idle disks
- Idle IP Address
- Idle Load Balancers
- Disk snapshots older than 30 days
- Stopped virtual machines
The Logic App checks the subscriptions you tell it to and if it finds any of the above resources it generates an email that you can send to a person in your team or your IT Service Desk to action.
It’s a light weight deployment that can be up and running within 5-10minutes.
Let’s walk you through the deployment.
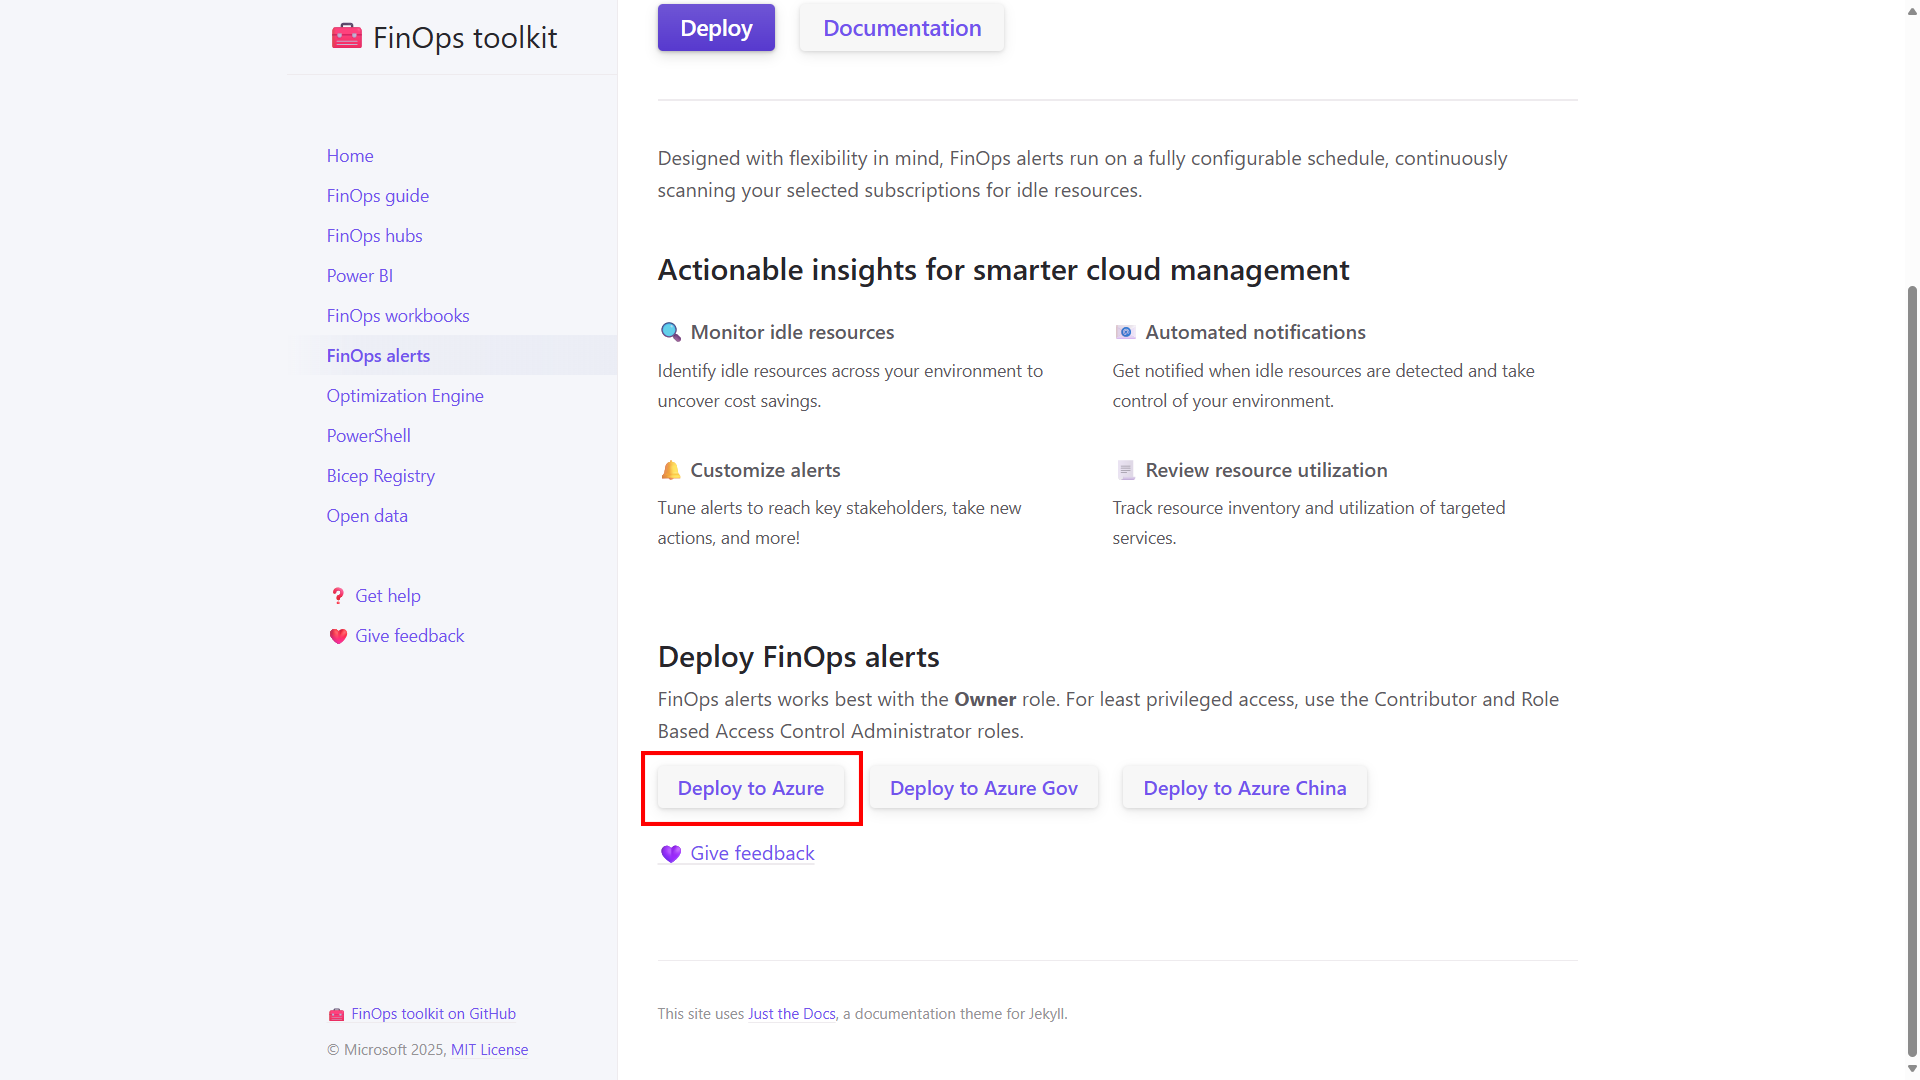
The first step is to visit: https://microsoft.github.io/finops-toolkit/alerts#deploy
Click on the correct Deploy button on the website, in this example I am selecting Deploy to Azure.
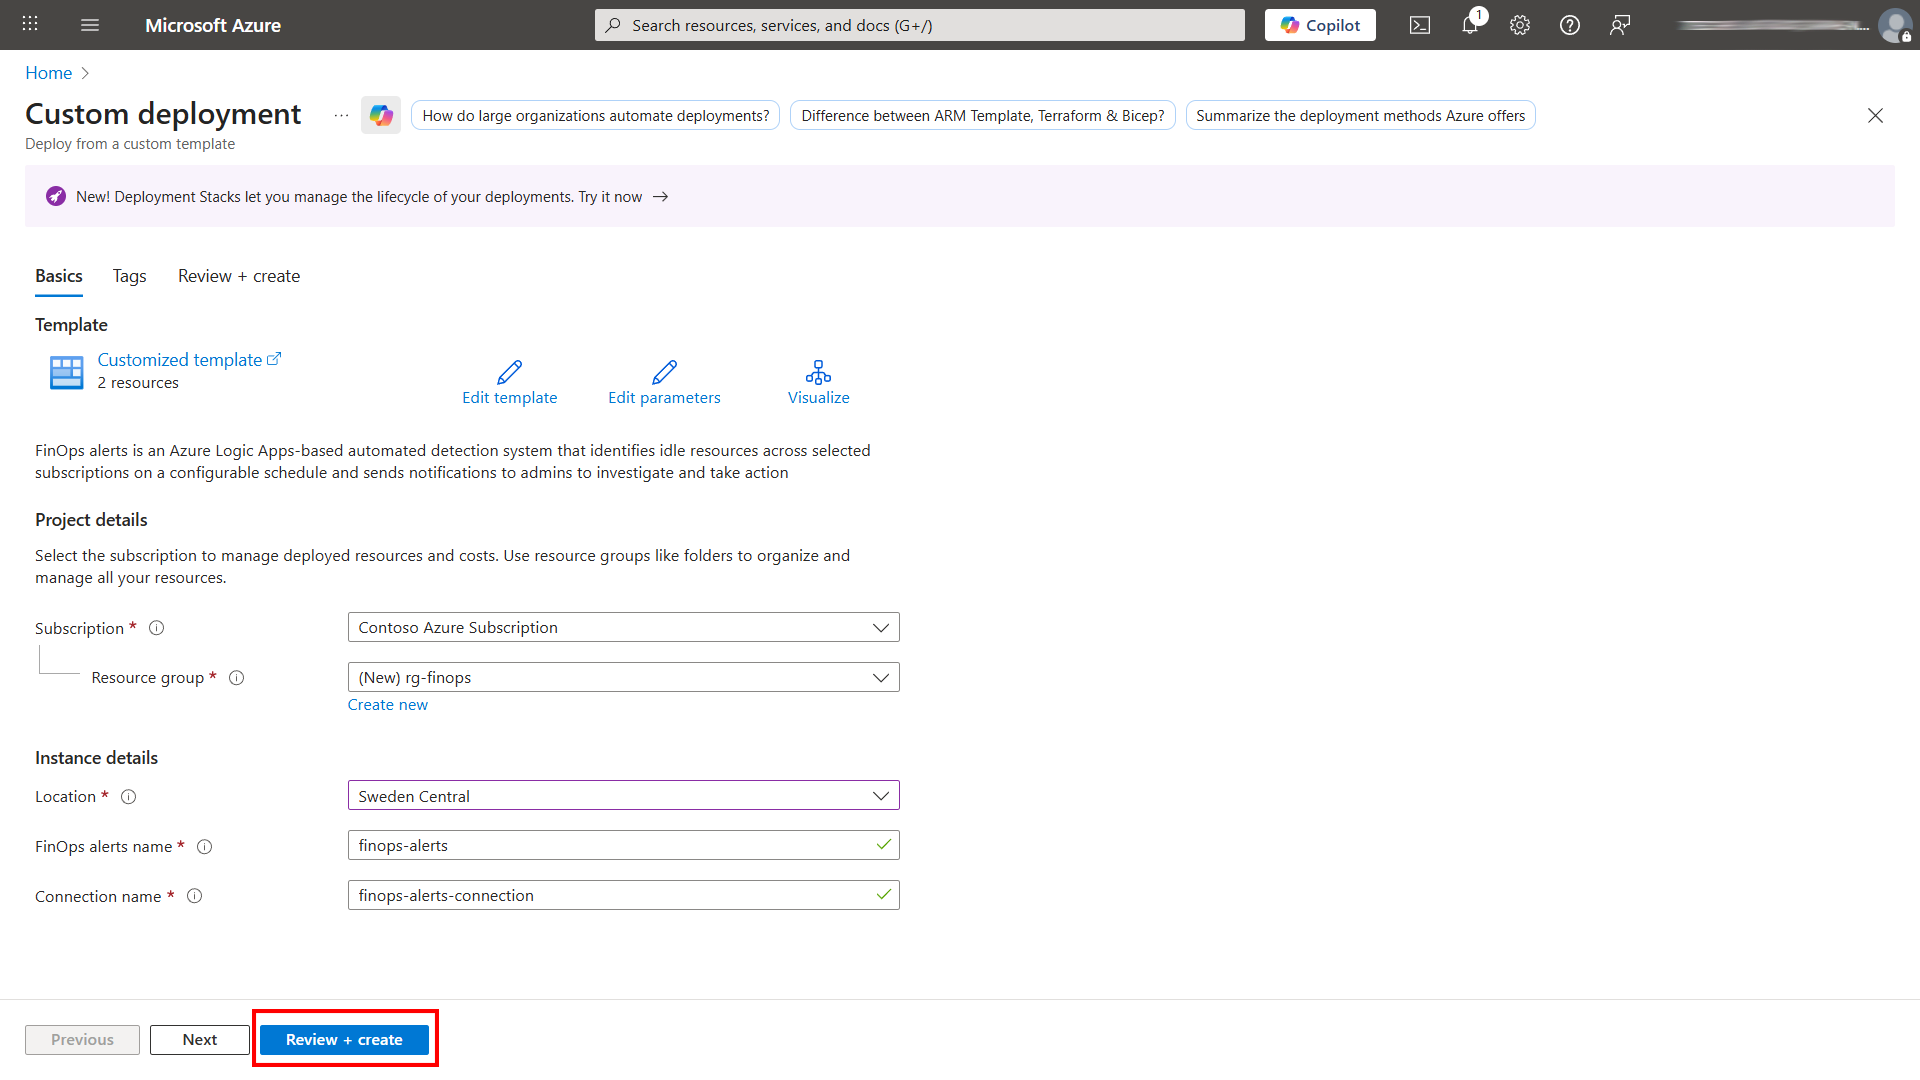
This will launch the Azure ARM template custom deployment within the Azure portal. You will be asked which subscription, resource group, Azure region, and the name you wish to use for the Logic App.
Once you’ve filled in the information click on Review + Create. Then click on Create.
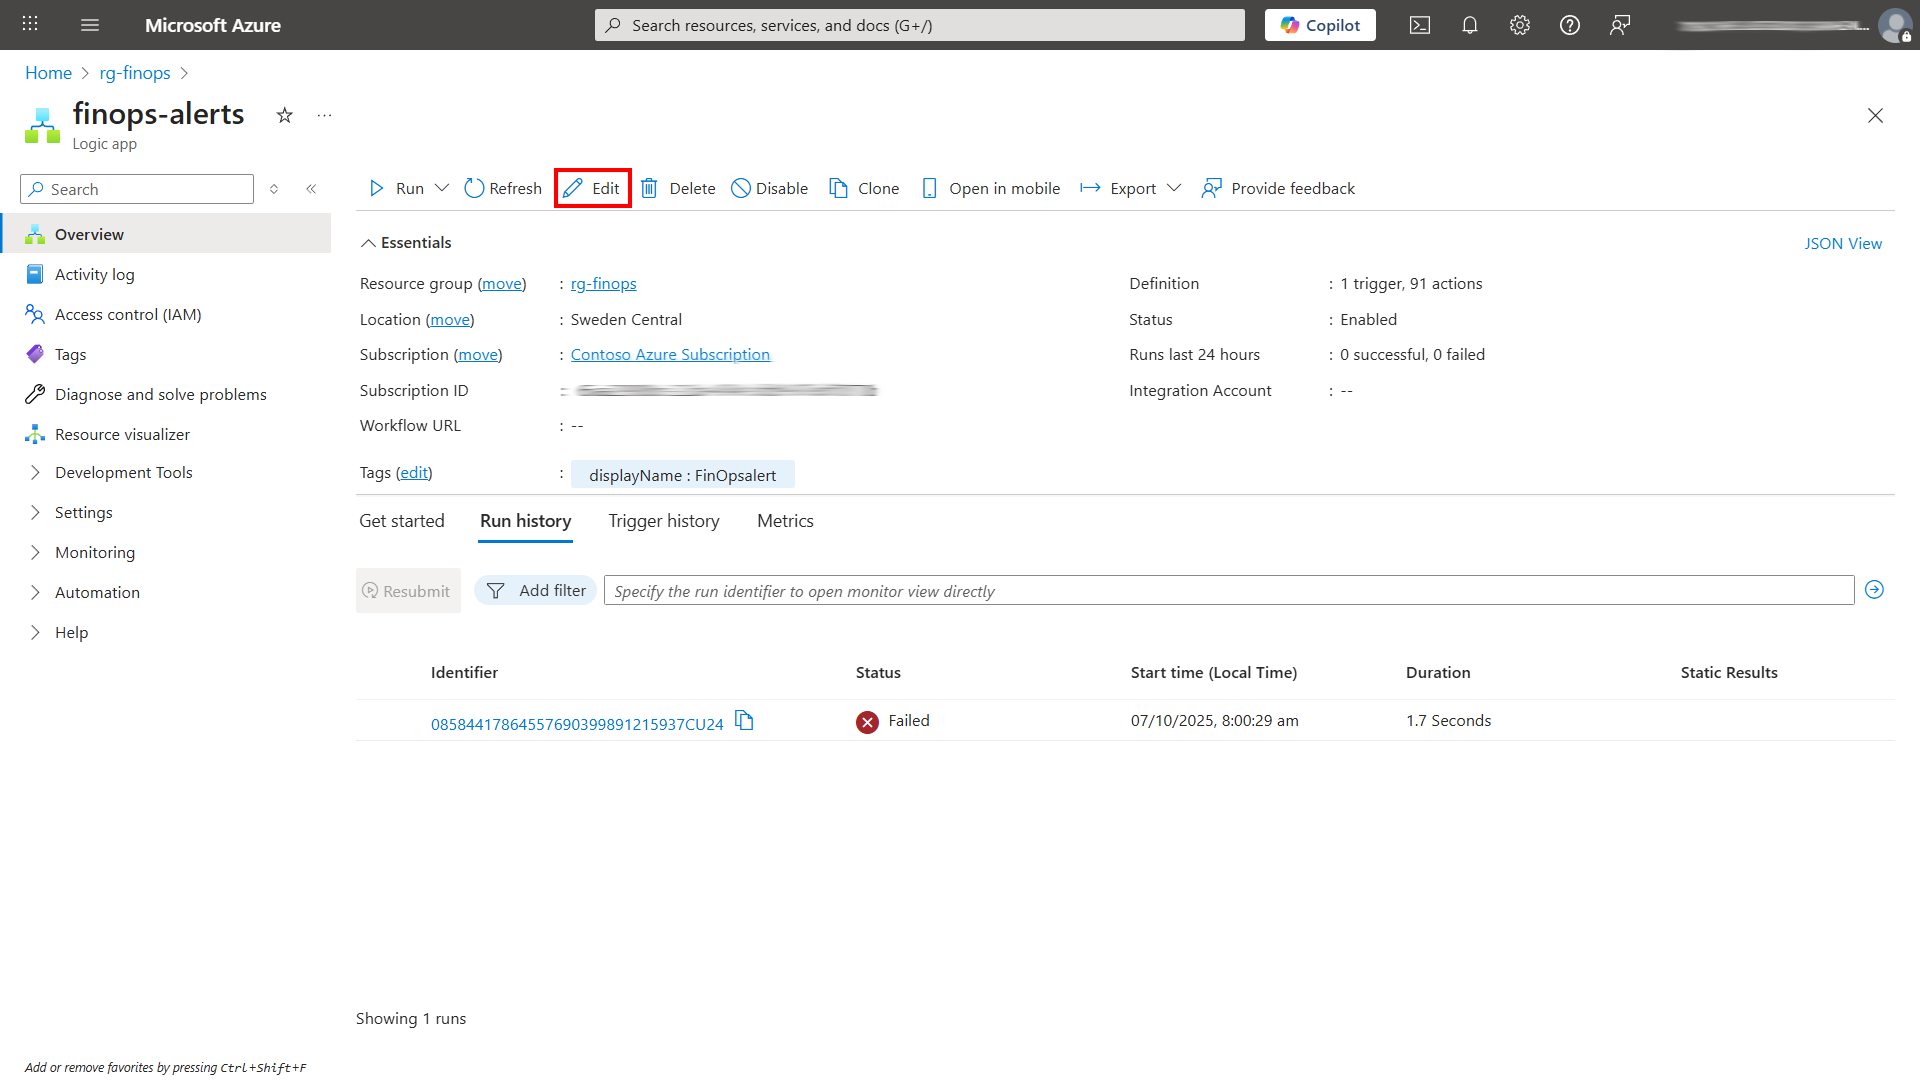
It will take a few minutes for the deployment to complete. Once it has there are some things you need to configure for the Logic App to work.
Go into the Logic App and click on Edit.
If you click on the Recurrence step you can configure how often you want the Logic App to run, by default it will run once a week.
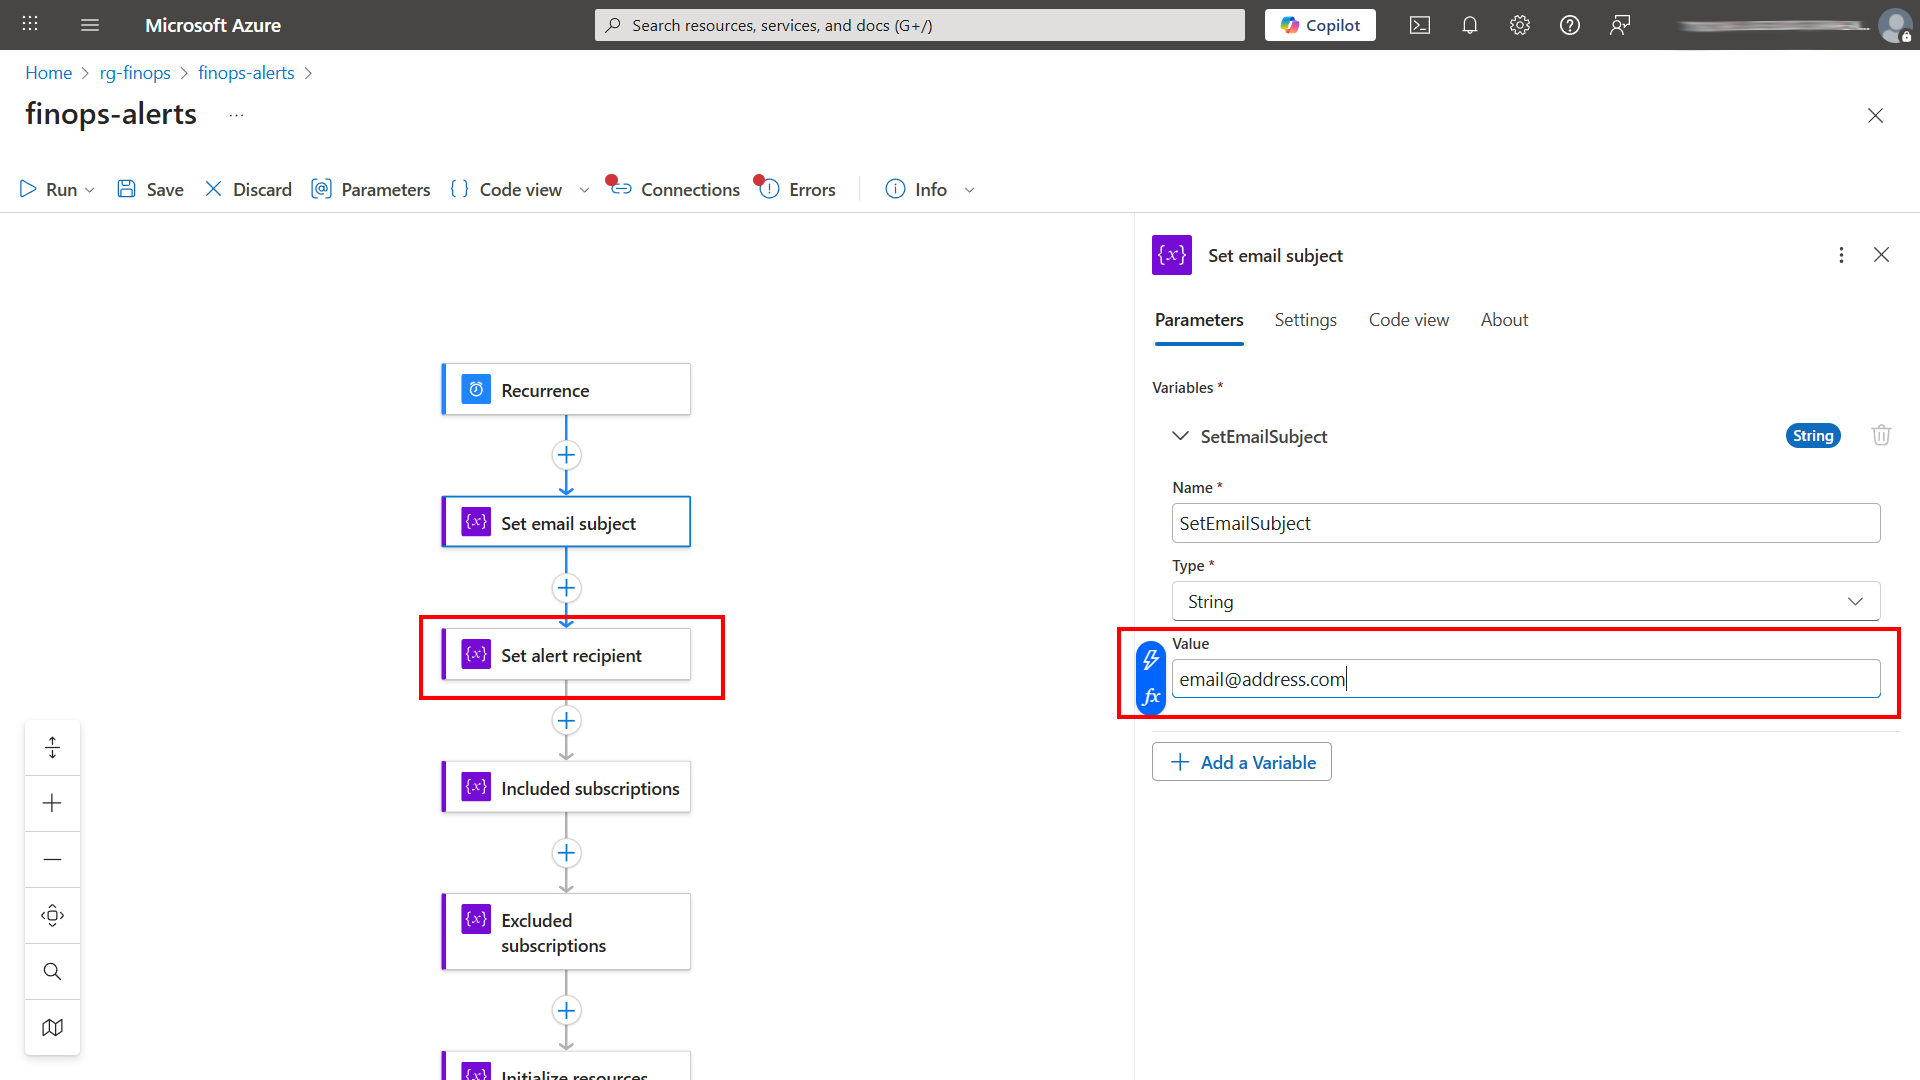
Click on the Set alert recipient step. Within the value section, enter the email address where you want the email to be sent.
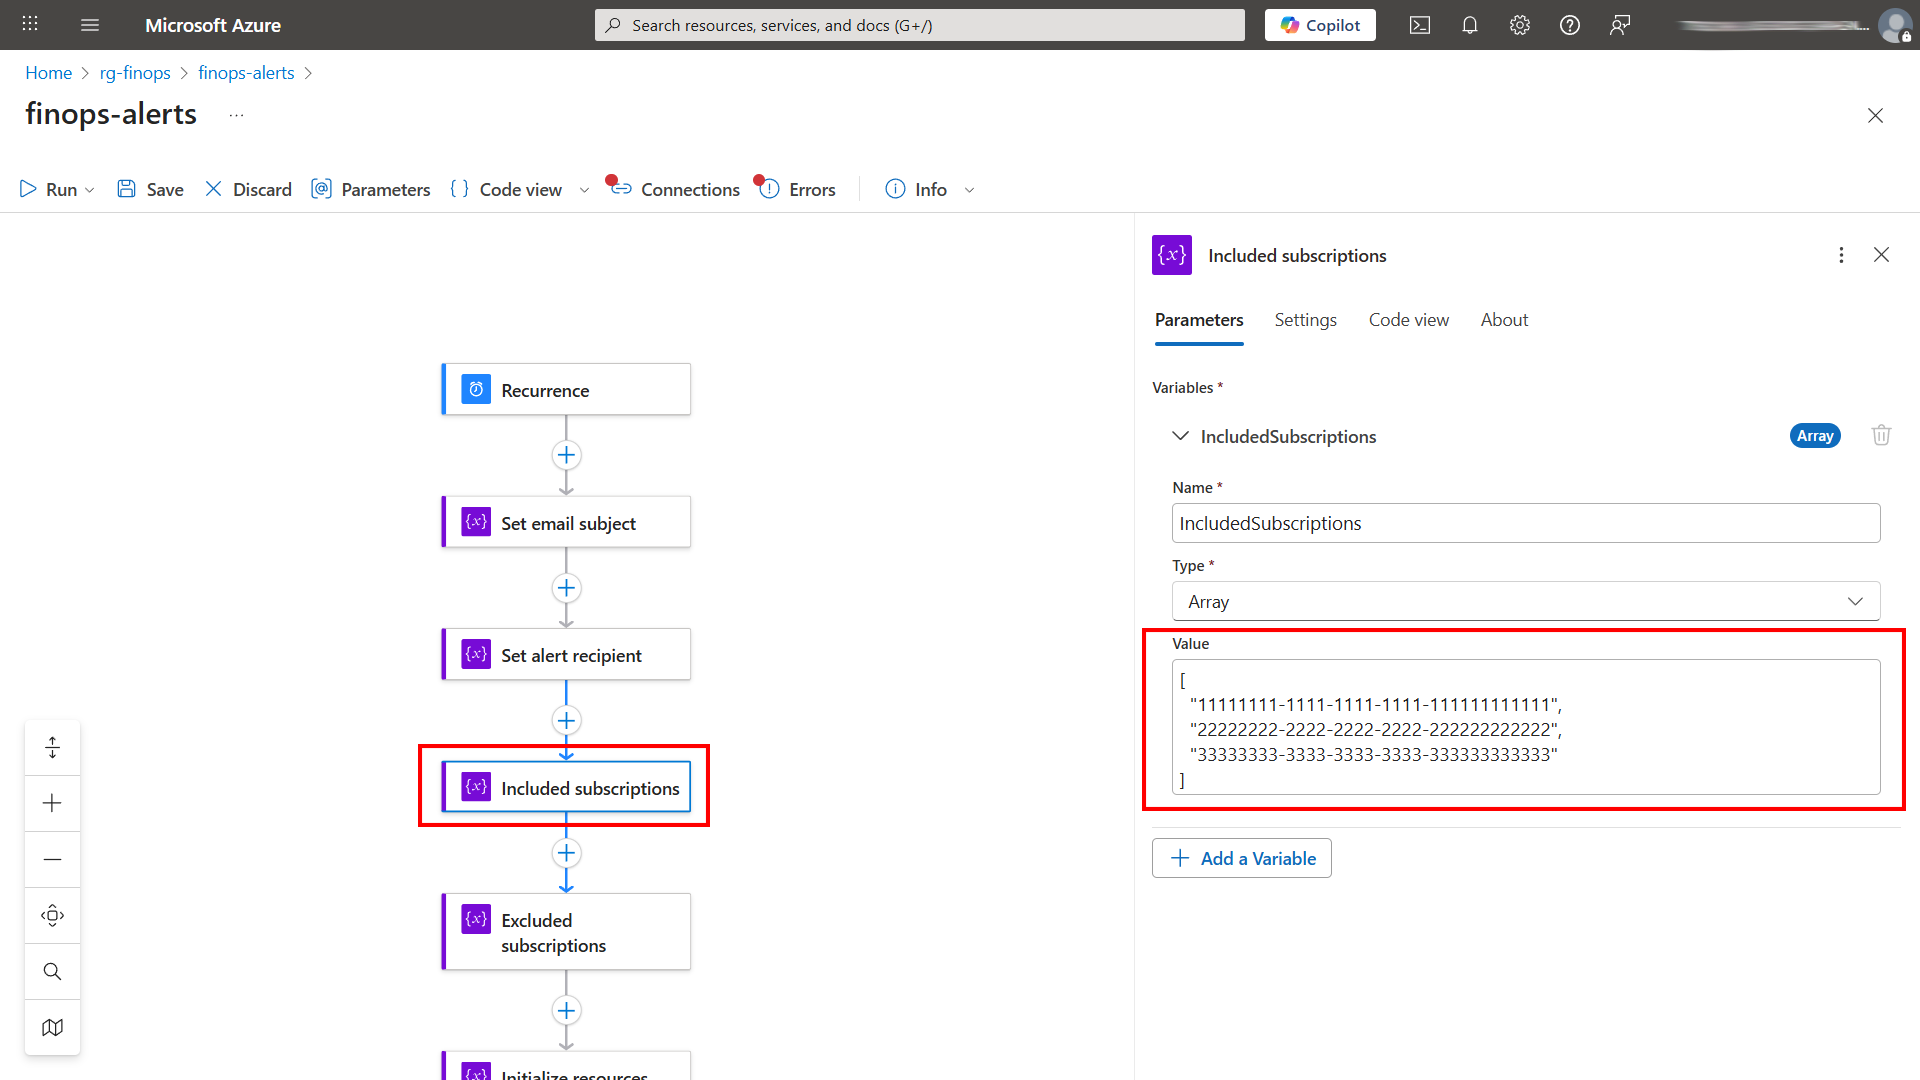
Now click on Included subscriptions, within the value section enter the subscription ID or IDs you want the Logic App to scan.
The format for just one subscription should be:
["12345678-aaaa-bbbb-cccc-1234567890ab"]
The format for multiple subscription IDs should be:
[
  "11111111-1111-1111-1111-111111111111",
  "22222222-2222-2222-2222-222222222222",
  "33333333-3333-3333-3333-333333333333"
]
If there are any subscriptions you’d like to exclude from being scanned, make sure you enter that information within the Excluded subscriptions.
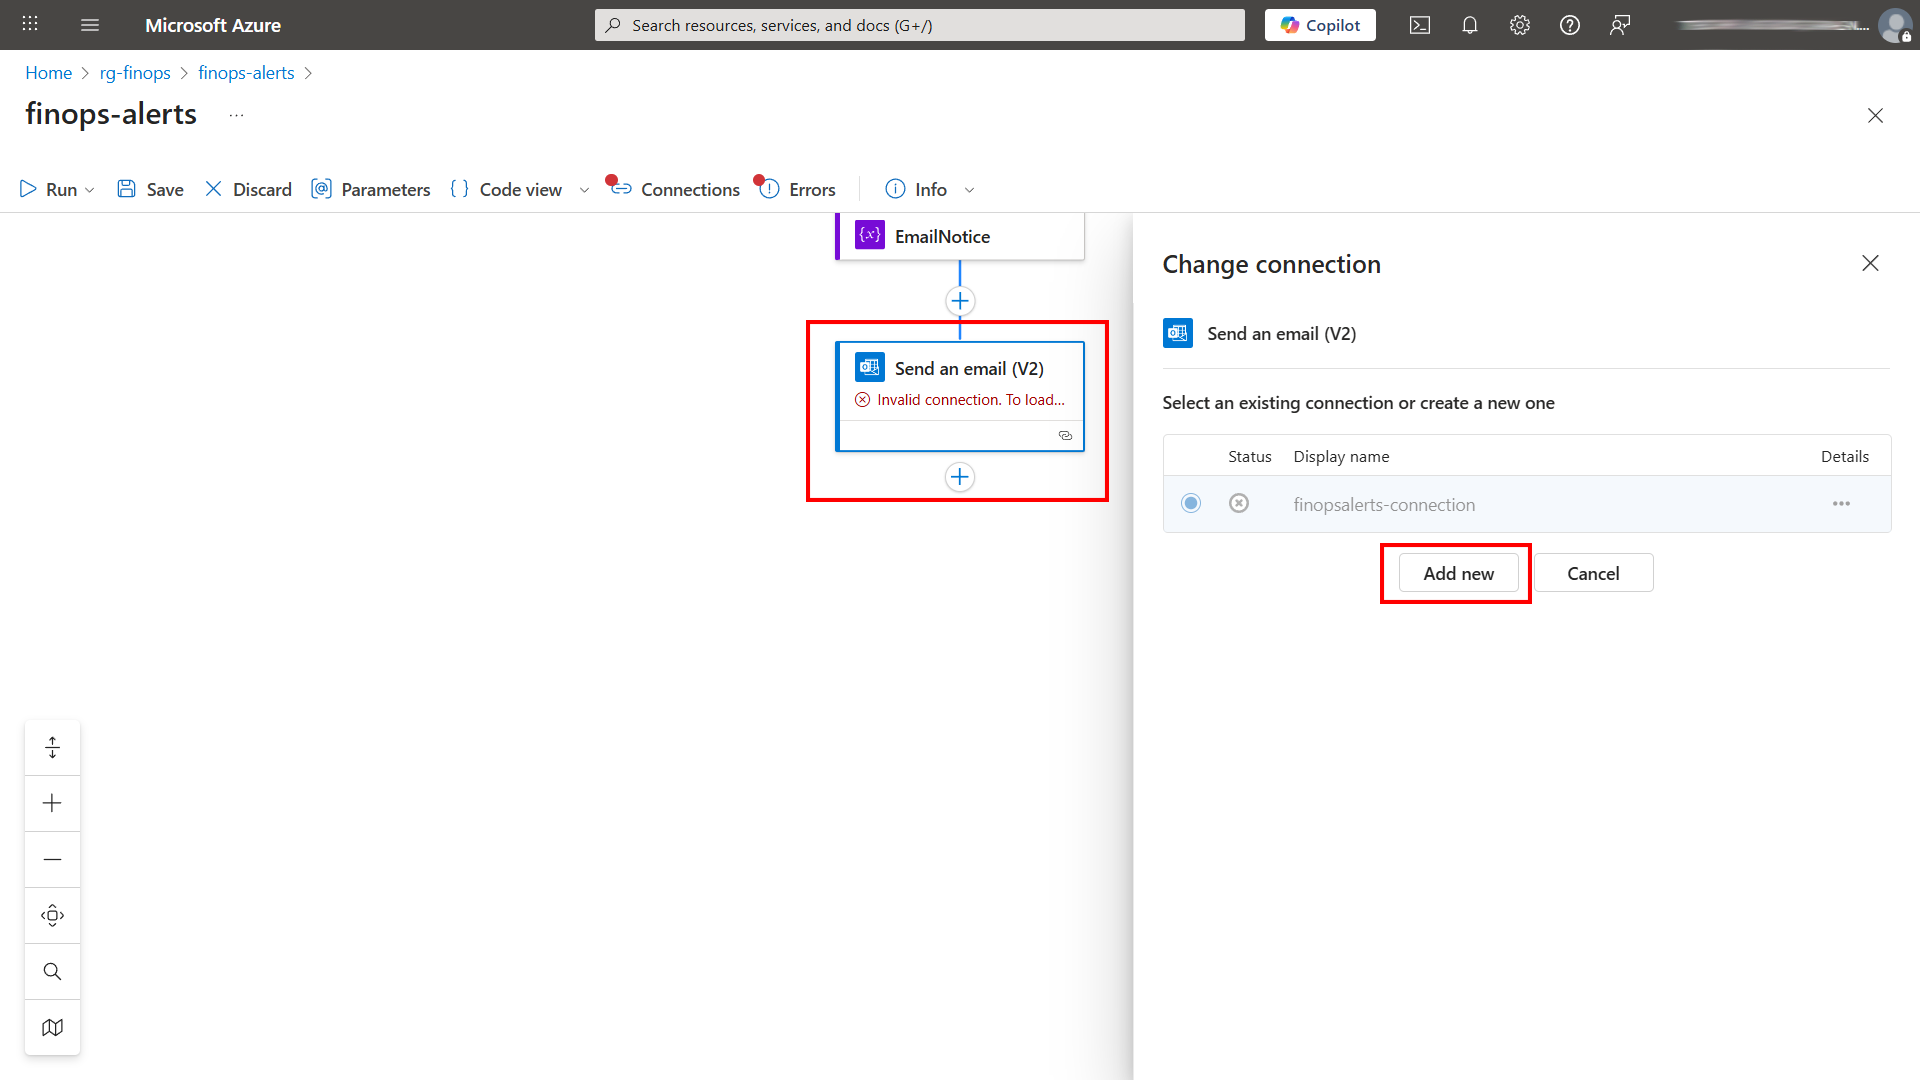
Next scroll down to the bottom of the Logic App and click on the Send an email (v2) step. Click on change connection, then select Add new. It will ask you to sign into your M365 account and confirm the connection with your M365 to be able to send the email.
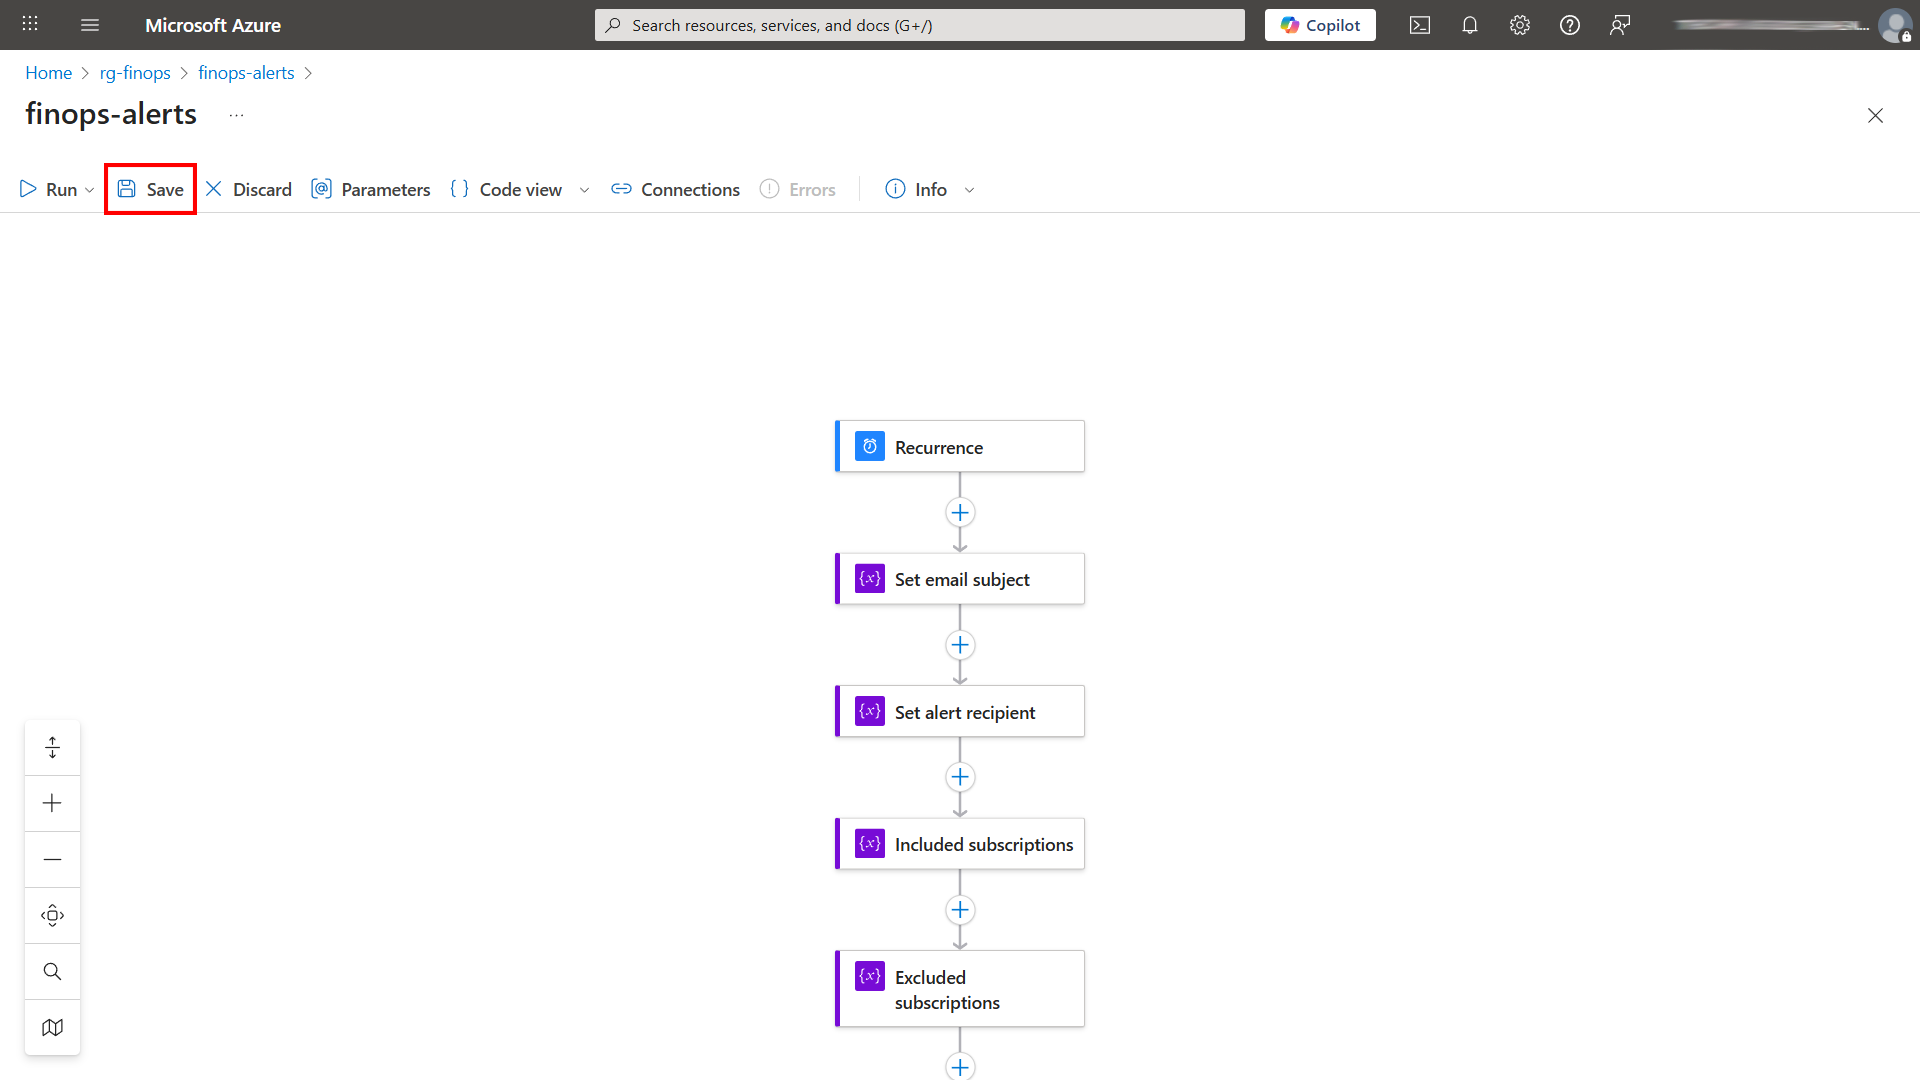
Don’t forget to click on Save after you have made the changes.
You can now manually start the Logic App by clicking on Run.
Analysing Azure Costs with FinOps Toolkit Workbooks
Azure workbooks can provide an interactive way to view and analyse data. Within the Azure FinOps toolkit are two workbooks, one called Governance and one called Optimisation.
The Optimisation workbook gives you a comprehensive overview of your Azure environment's resource usage, aligning with the Well-Architected Framework Cost Optimisation pillar.
The Governance one provides a comprehensive overview of the governance posture of your Azure environment.
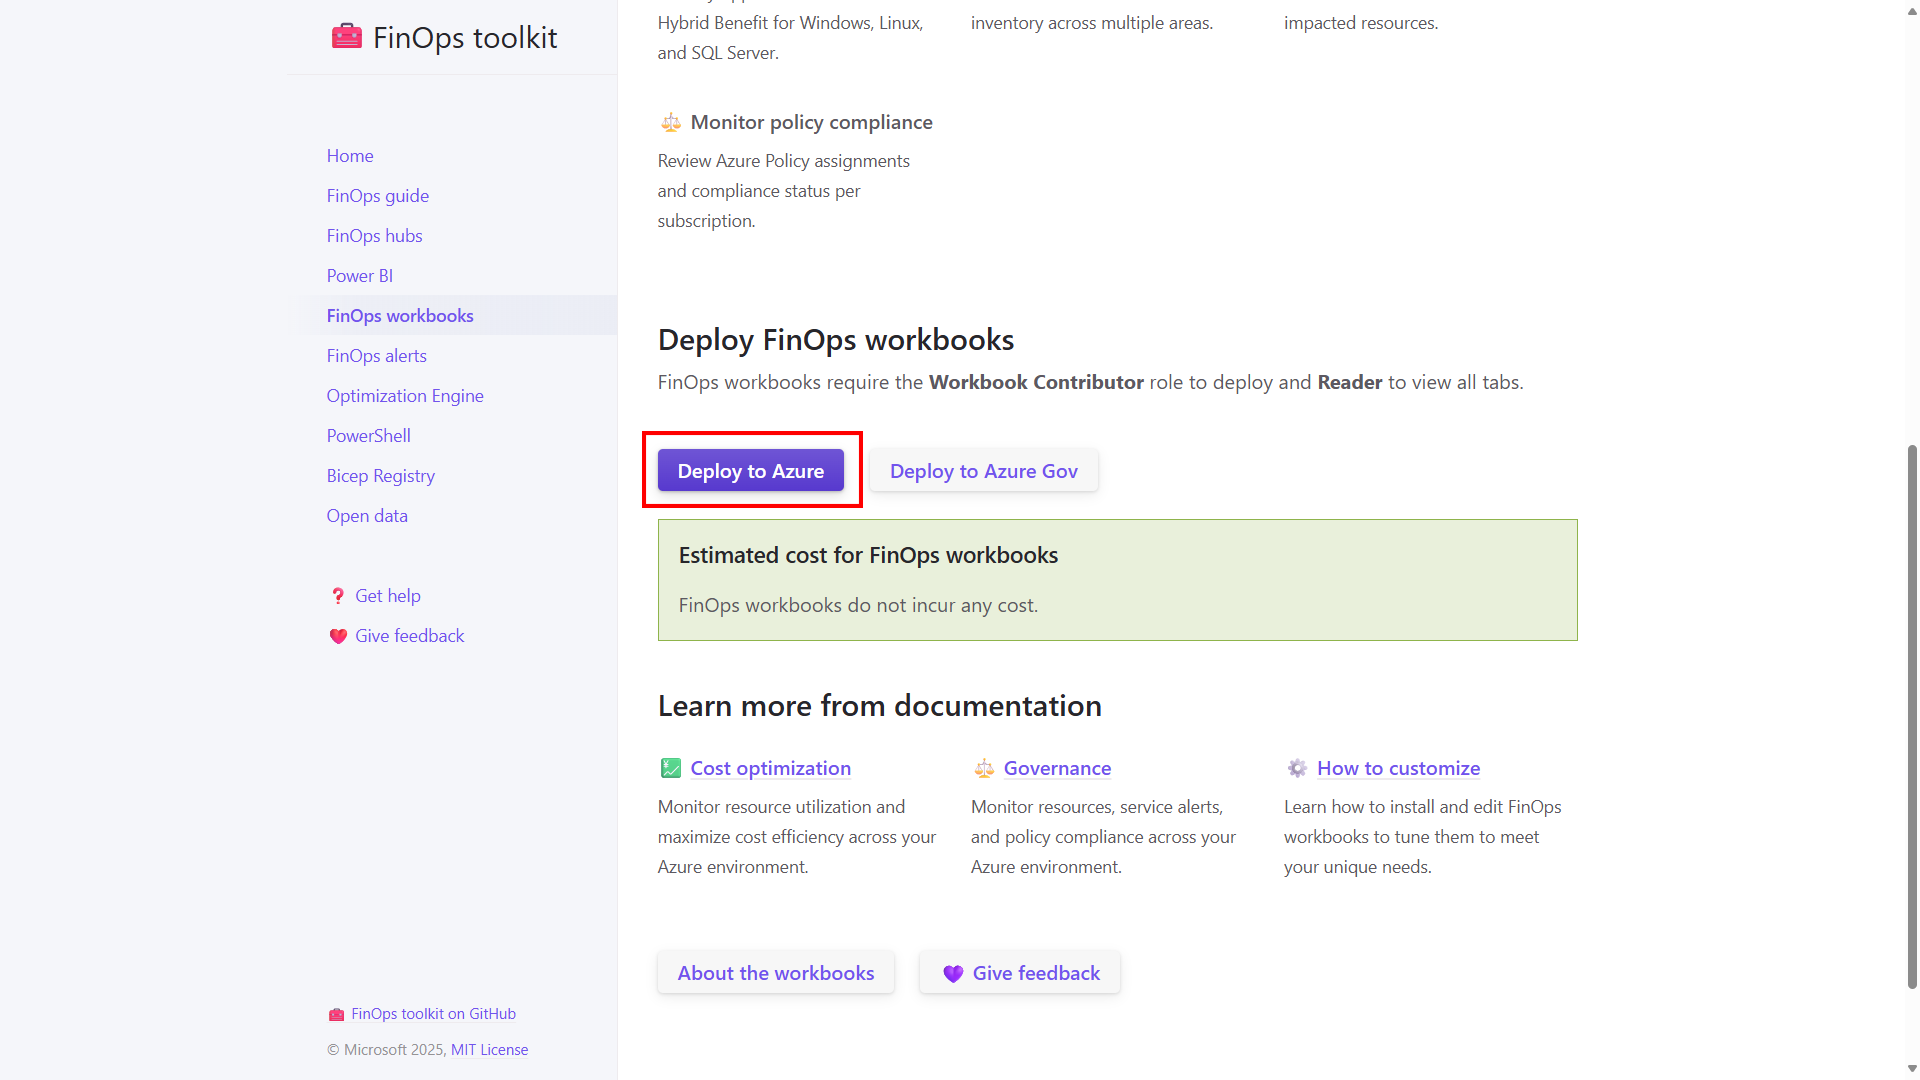
To deploy these workbooks, head over to https://microsoft.github.io/finops-toolkit/workbooks
Click on the deploy button for you, in this example, I am going to select Deploy to Azure.
This will launch the Azure Portal and the custom Azure ARM template deployment. You’ll be asked to select a subscription, a resource group, an Azure region and a name to prefix each workbook with.
Click on Review + Create. Then click on Create.

It will take a few minutes for the workbooks to be deployed. You can go to the deployed resources and start to view and interact with the workbooks.
They are great for spotting issues with your governance and also where you can make some cost savings and optimisations within your environment.

Final Thoughts on Cost Optimization in Azure
The Azure FinOps toolkit is a powerful collection of resources to help you implement FinOps practices and monitor cost optimization in your Azure environment. Even using just the alerts and workbooks, you can quickly identify idle resources, spot opportunities to save money, and keep your cloud spending under control.
Take the time to explore the toolkit, experiment with its features, and tailor it to your organisation’s needs. By proactively monitoring your environment, you’ll not only reduce costs but also gain better visibility into your cloud resources, a key step toward more efficient, sustainable cloud operations.