Installing Git - 14 days of Git
As part of my 14 days of Git learning journey it's time to get Git installed on my desktop. I walk you though the manual installation process, and configuration of Git.

So far on my 14 days of Git learning journey I have dug into:
Now it's time to get hands on with Git and get the tool installed on my computer.
Install Git on Windows
Git is a tool that can be installed on your macOS, Windows or Linux operating system. We'll focus on Windows installation methods here.
- Head over to https://git-scm.com/downloads and download the latest version of the client.
- Once you have downloaded the right file, double click on it to start the install.
The install is down through a wizard, you will be asked some basic questions:
- Accept the license
- Install location
Components
And then you will be asked what components you should install. The defaults are generally okay to get you started with Git. You may want to select the option to install an icon on your desktop and set it to check for updates daily.
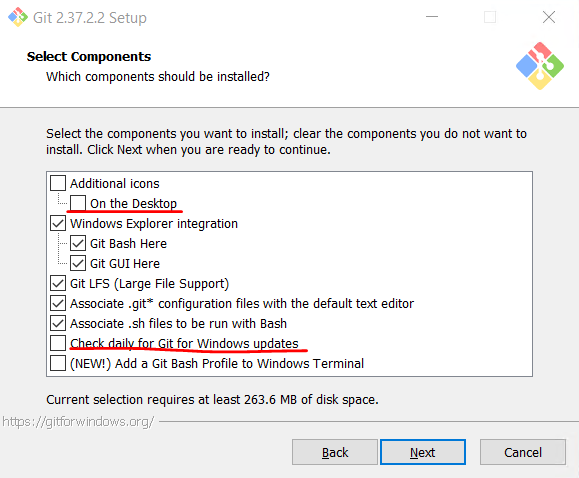
The other optional component you might want to consider is the "Add a Git Bash Profile to Windows Terminal". This can be useful later on, especially if you are planning on using Visual Studio Code or another editor that has a built in terminal window.
Start Menu Folder
You can leave the next screen at it's default setting.
Default Editor
When you get to choosing the default editor used by Git, you have the option to select from a list of editors. The default is Vim, however I would suggest picking one you are more familiar with.
Initial Branch name
When you create a new repository, by default Git will call that first branch "master". You can confirm it so that it will use another name. I recommend setting this to "main".

PATH environment
When you use a tool within the command line without specifying the full location path, you need to configure it so that Windows knows where the tool is. I recommend using the default option here to configure the PATH settings.
SSH Executable
I prefer to leave this option as is by choosing OpenSSH.
Line ending conventions
Again I leave this is default.
Terminal emulator for Git Bash
This is another setting that is best left at the default MinTTY option. It is the more modern choice.
Default behaviour
It is best to leave this option at "Default (fast-forward or merge)". Most tutorials you will follow will assume you are using this setting. And until you get more familiar with Git and it's workings it is the best option.
Git credential helper
When working with external Git repositories it is best practice to use multi-factor HTTPS authentication. It is best to leave the default option by using the built in Git Credential Manager.
Extra options
Best to go with the defaults here, unless you have any other need to configure them.
Experimental options
I tend not to install any experimental options, but again if you have a need or want to try them that is something for you to decide.
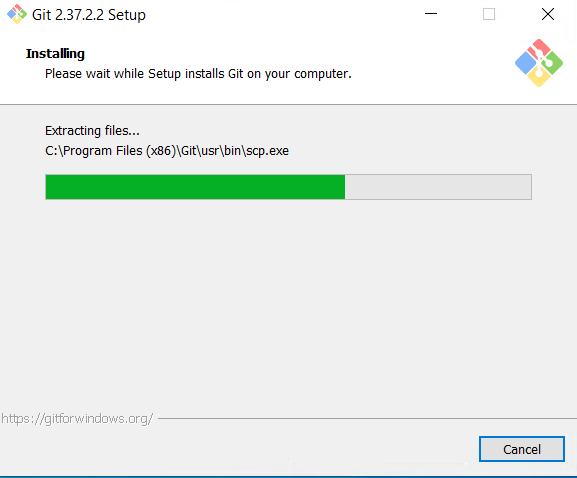
The installation process should now begin.
Install Git with Windows Package Manager
Windows Package Manager (winget) is an open source package manager developed and built by Microsoft. It can help you install, manage and upgrade software on your Windows desktops.
If you have Windows Package Manager installed on your machine, you can use the following command to install Git:
winget install git.git
Install Git with Chocolatey
Chocolatey is an open source package manager that can help you install, manage and upgrade software on your Windows desktops and servers.
If you have Chocolatey installed on your machine and it's your package manager of choice you can use the following command to install Git:
choco install git
Configure Git for use
Before we start to use Git there are a few things that we need to configure. Setting your name and your email address is the first step. This information is use to record any changes you make to Git repositories.
Open up a command line tool and type in the following:
git config --global user.name "Your Name"
git config --global user.email “you@example.com”
14 days of Git
The next step of 14 days of Git is to start to use Git and get familiar with the basic commands! Be sure to subscribe and join us for that step in the learning journey!
You can follow along here: https://github.com/weeyin83/14daysofgit