Create an S3 Bucket using AWS CloudFormation
Learn how to create an S3 bucket using AWS CloudFormation with this step-by-step guide. Perfect for beginners, this tutorial covers YAML templates & deployment.

In this blog post, I want to show you how to create an S3 bucket using a CloudFormation template. If you are new to Amazon Web Services (AWS)'s CloudFormation templates, this will be a great first template to deploy!
What is CloudFormation?
AWS CloudFormation is a tool that can help you create or manage your resources within AWS in a programmatic way using Infrastructure as Code (IaC). It can help you replicate your environment easily within a few clicks.
You can declare the resources that you need within your CloudFormation template. They will be created in the correct order.
A CloudFormation template can either be YAML or JSON. In this tutorial, we are going to focus on YAML.
Create the template
Let's get started with a simple template for creating an S3 Storage bucket within AWS.
Open up your favourite editor, like NotePad++ or, as I prefer, Visual Studio Code.
The first section of the template is the Format Version and Description sections.
AWSTemplateFormatVersion: 2010-09-09
Description: CloudFormation template for s3 bucket
The Format Version helps to identify the capabilities of the template. The most up-to-date version, as I write, is 2010-09-09.
The second line is the Description, which is used to help you and others understand what the template does.
The following section we are to declare is the Resources section. Every template needs at least define one resource.
Resources:
  S3Bucket:
    DeletionPolicy: Retain
    Type: 'AWS::S3::Bucket'
    Description: Creating Amazon S3 bucket from CloudFormation
    Properties:
      AccessControl: Private
      PublicAccessBlockConfiguration:
        BlockPublicAcls: true
        BlockPublicPolicy: true
        IgnorePublicAcls: true
        RestrictPublicBuckets: true
      BucketEncryption:
        ServerSideEncryptionConfiguration:
          - ServerSideEncryptionByDefault:
              SSEAlgorithm: AES256
      VersioningConfiguration:
        Status: Enabled
We have defined what resource we want created and some properties we want to have with that resource. For this S3 Bucket, we have enabled the following:
- Versioning: this enables multiple versions of all the objects in the bucket to protect against accidental deletion.
- Encryption: enabling this ensures that all objects are encrypted when stored within the bucket.
- Private Only: we have set it so no one from the public can access this bucket.
The third and final section of this template we will define is the Outputs.
Outputs:
  S3Bucket:
    Description: Bucket Created using this template.
    Value: !Ref S3Bucket
This last section of the template will return to us the name of the S3 Bucket that is created. We can use the output section to help us pass information to other automation tasks or for reference.
Now we have the template created, save this file with the YML extension.
Deploy the template
Now that you have written the template, it is time to deploy it and create the resource.
You can deploy the template in several ways: through the AWS portal. Or you can deploy the template using the AWS CLI tool.
In this example, we will deploy the template through the portal.
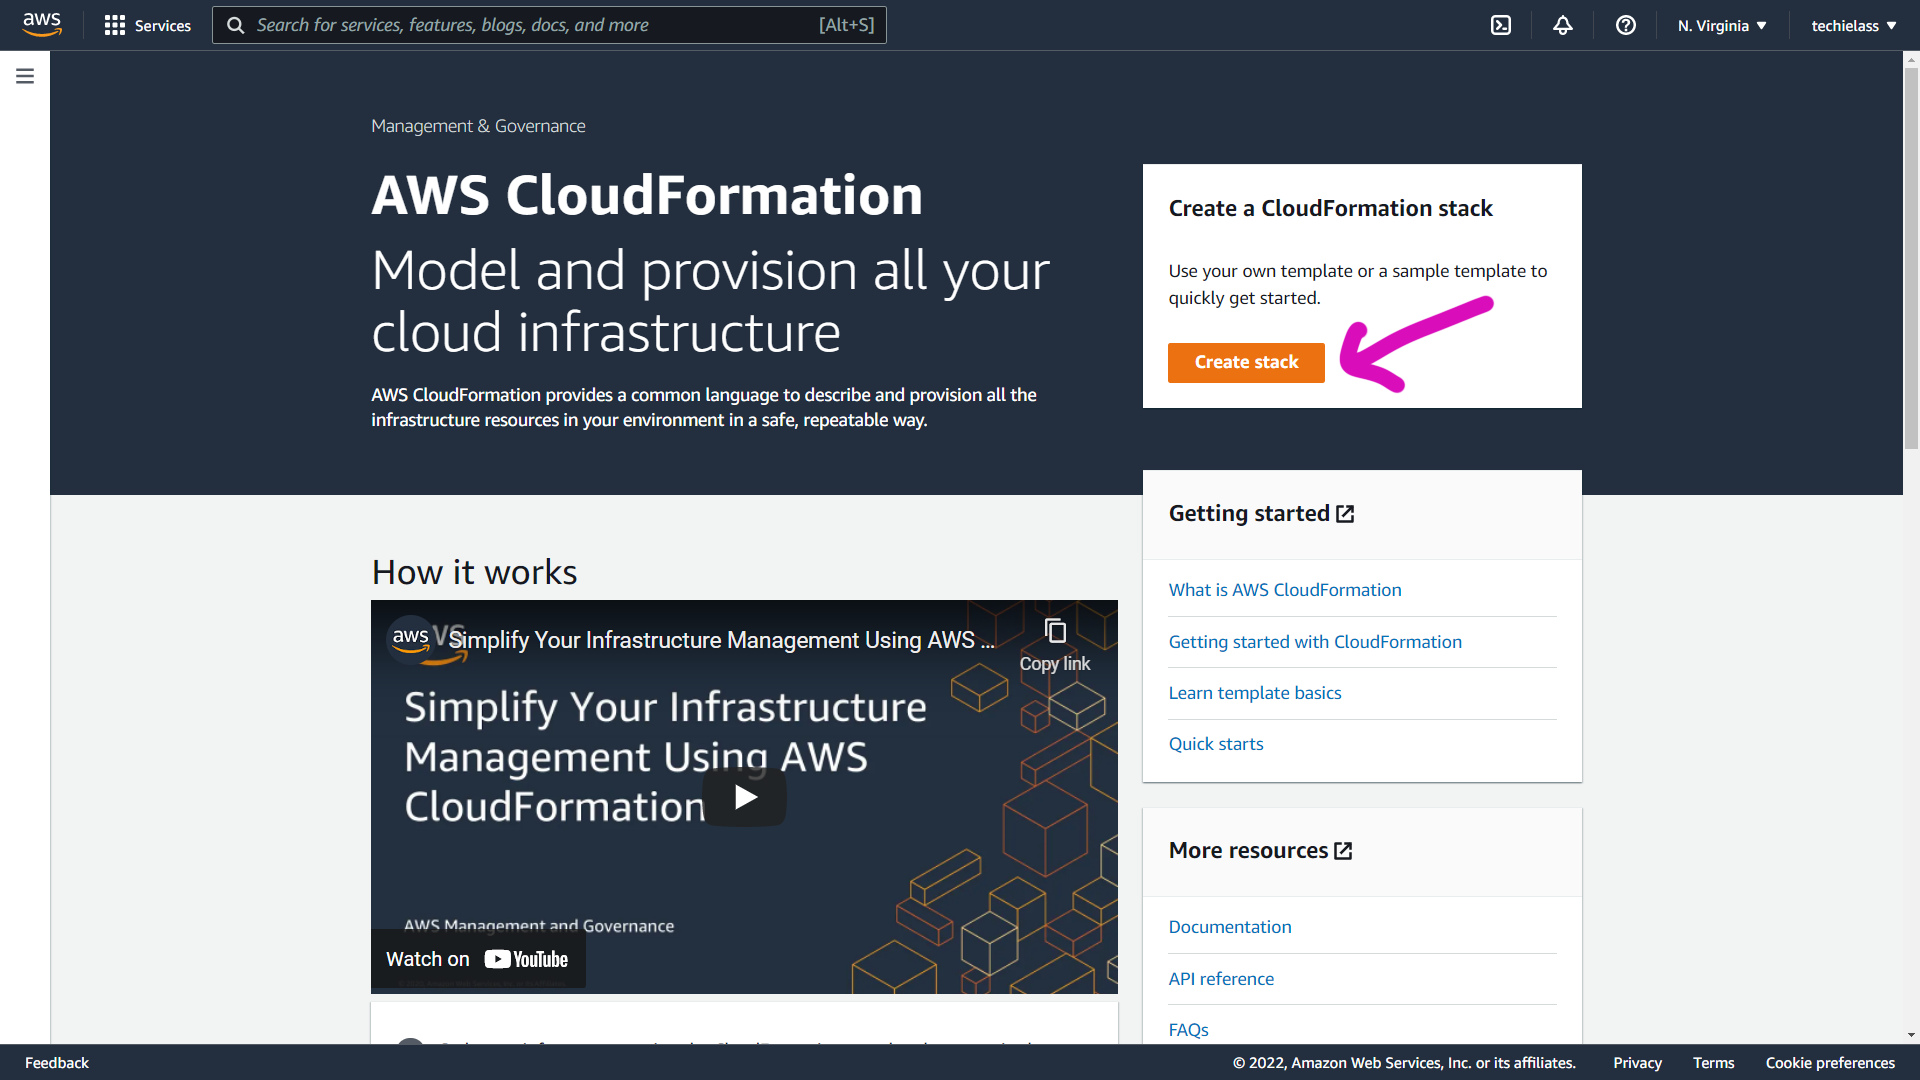
Head on over to the AWS management console - https://aws.amazon.com/console/
Now head over to the CloudFormation Console and select "Create Stack".
You'll be presented with a few options here. We have a template, so we select "Template is ready", and then we want to "Upload a template file".
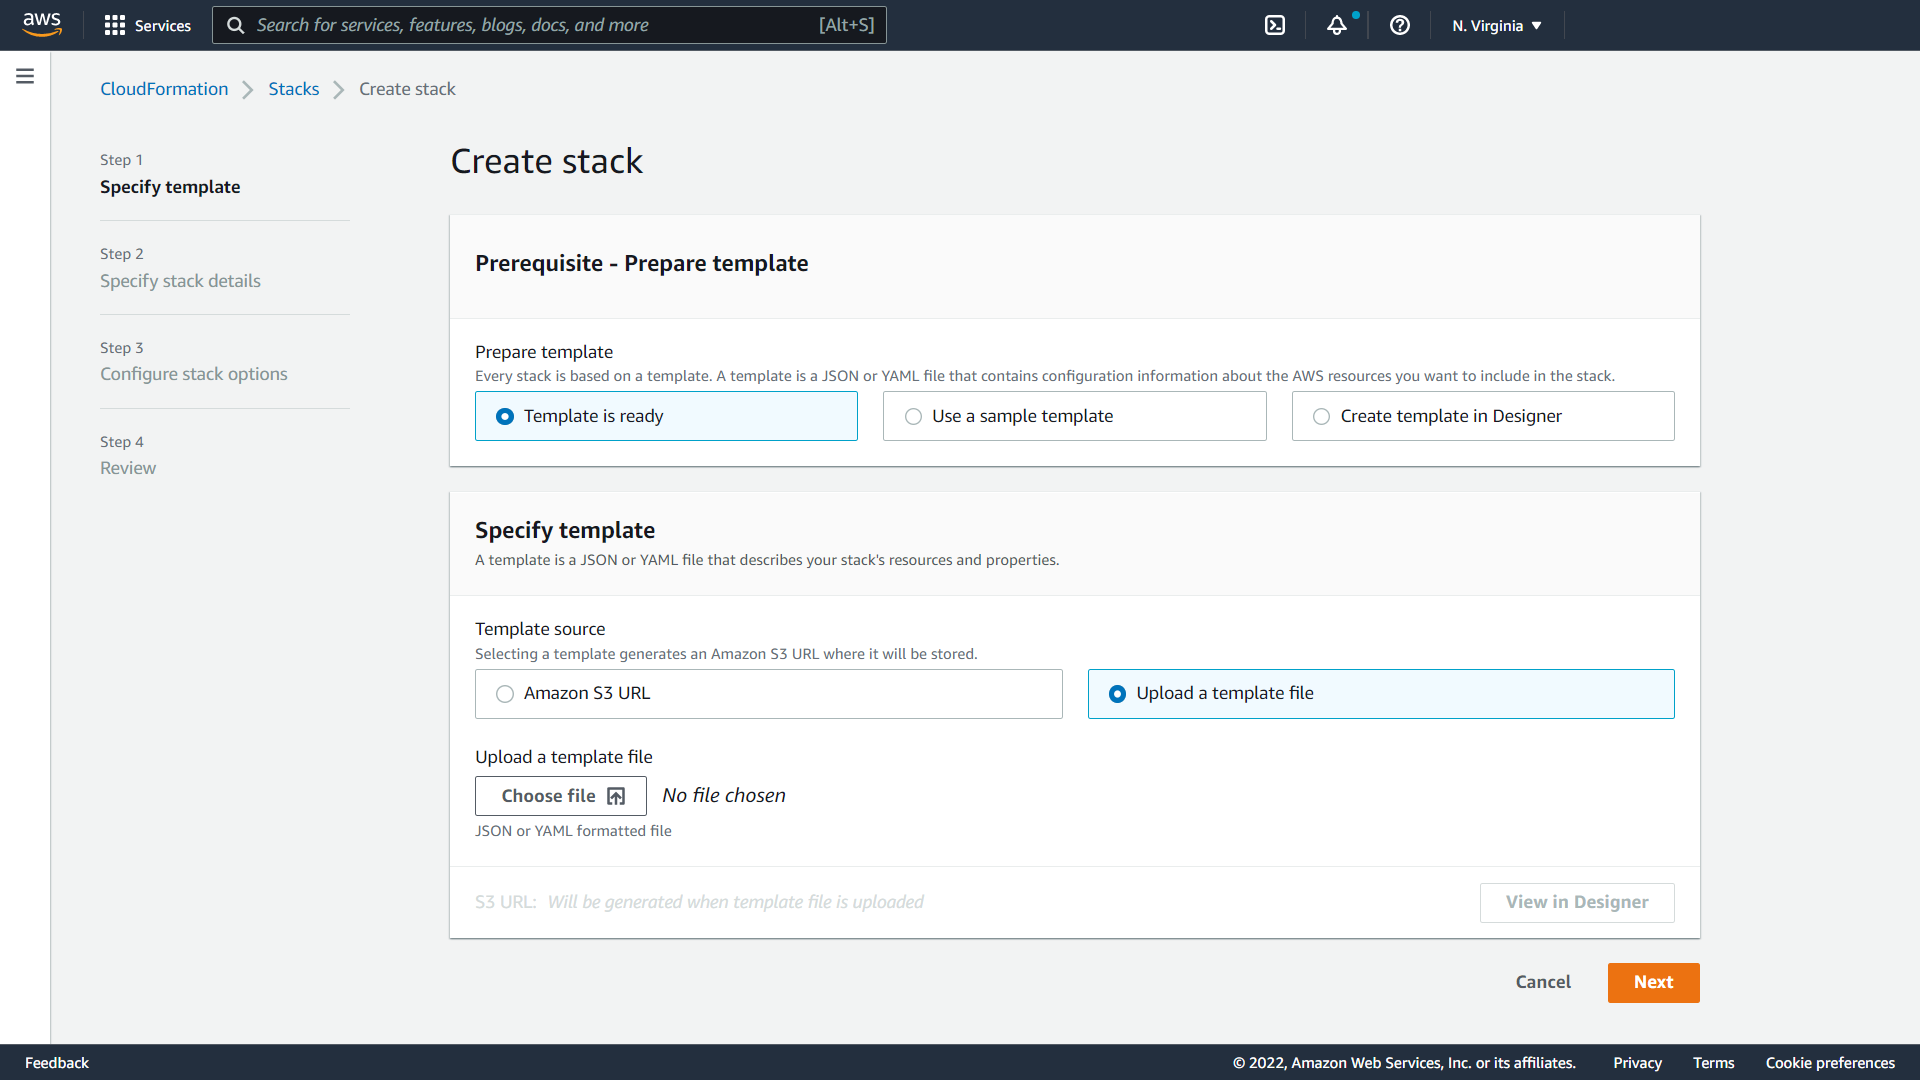
Upload the template you just created and click on Next.
You must provide a "Stack Name" within the next screen. This is the name of your deployment; make this something that makes sense to you.
There are many other configuration options here, but we will leave the defaults and click Next.
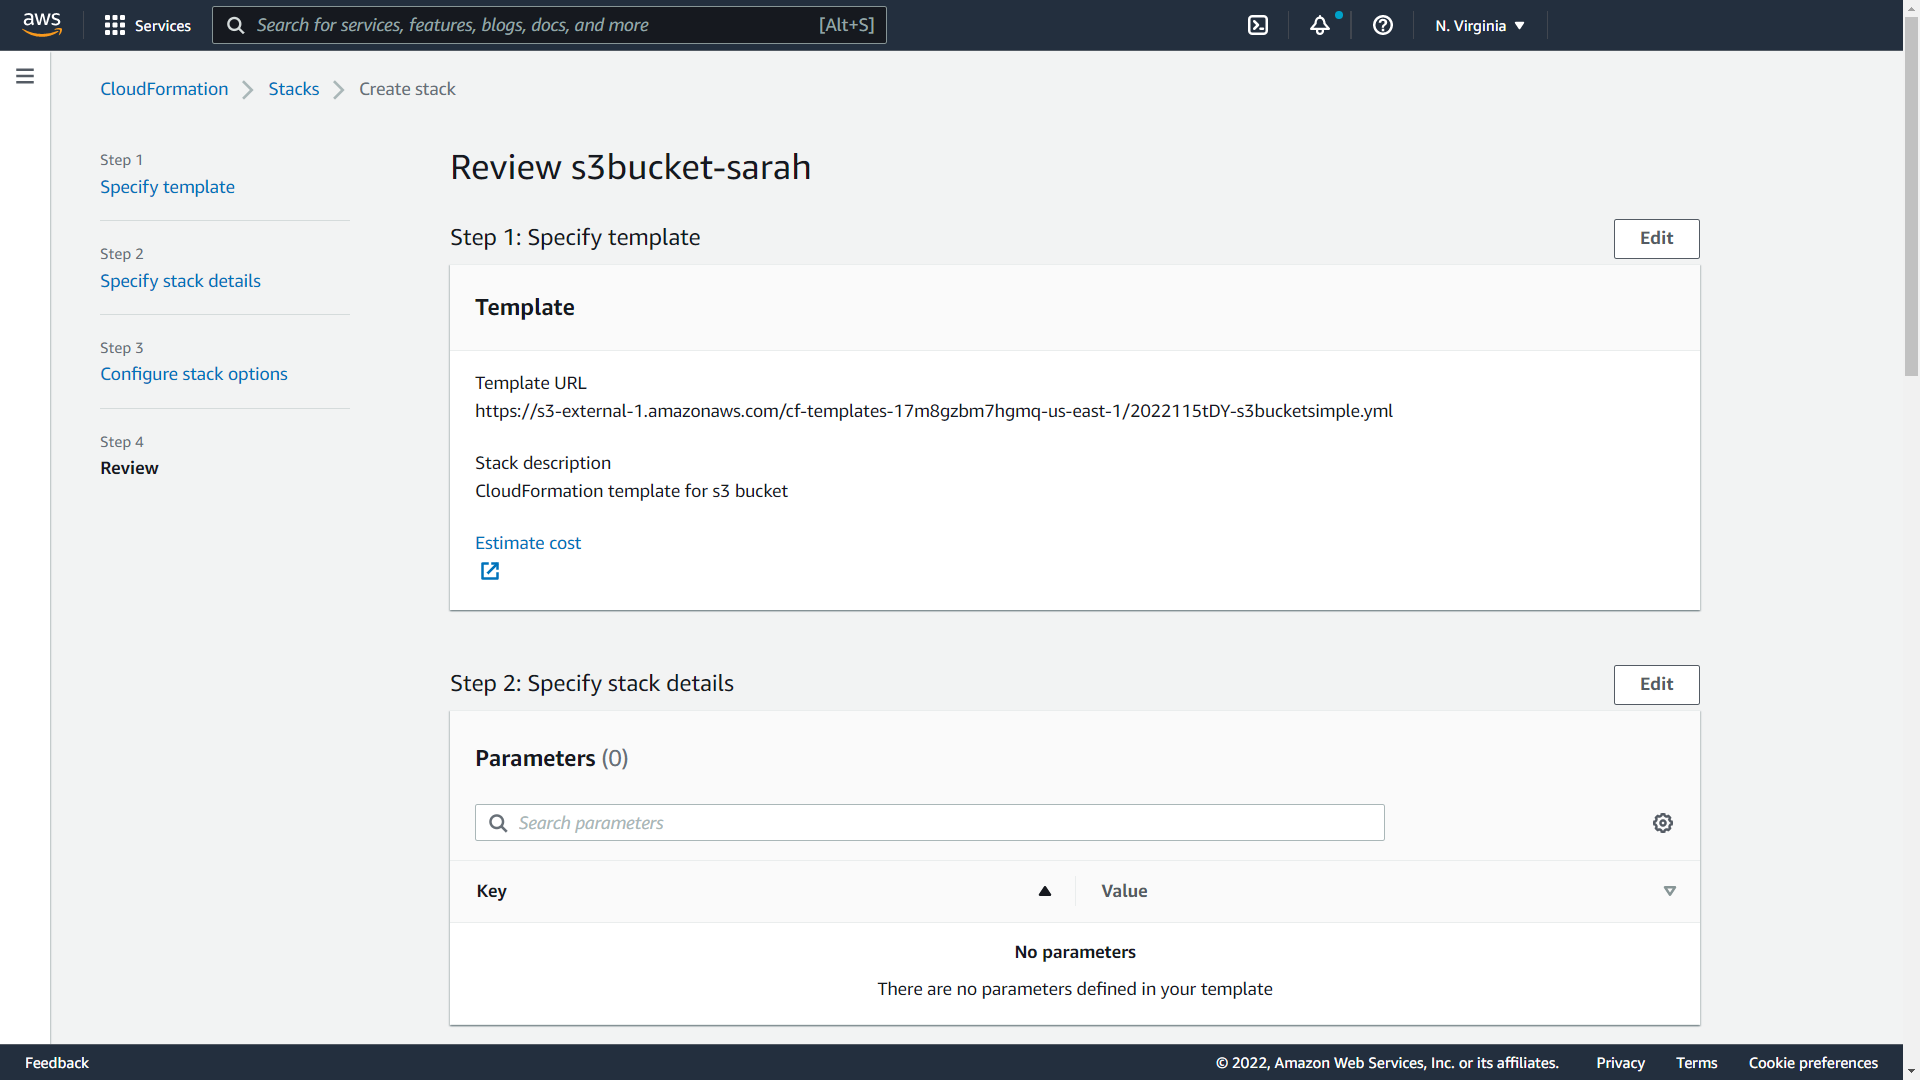
You will now be taken to a review screen, check over everything and then click on Create Stack.
Resource Creation
The storage account should only take a few minutes to be created. You can monitor progress from the CloudFormation page.
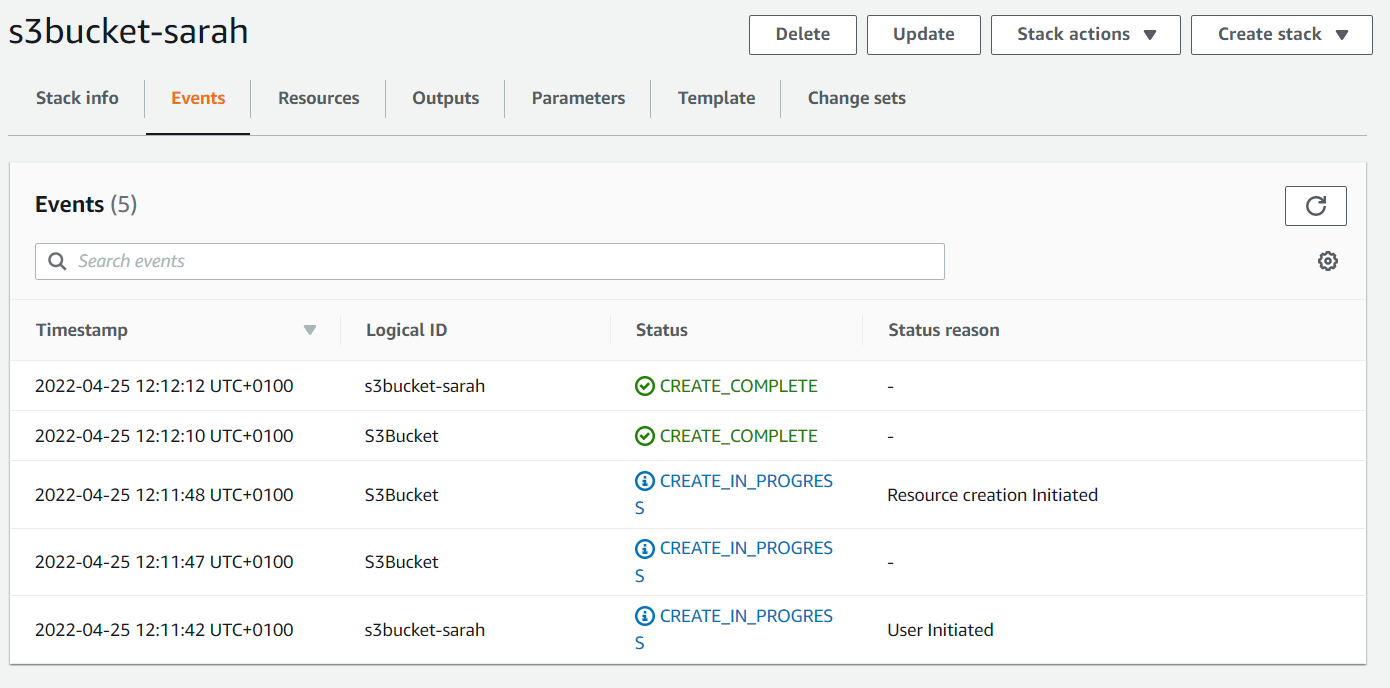
Once the resource has been created, you will get additional information under the sections such as Outputs. It will display any outputs you asked for the template to display.
Under Resources, you will see any of the resources the template created, and you should have a clickable link to take you to that resource.
And with that, you have deployed your first AWS CloudFormation template and created an S3 Bucket!
Watch the deployment in action
I recently walked through the process of deploying this template during a webinar. If you'd like to see me walk through the template in more detail and then show you the deployment, head on over to YouTube or watch below: